Friday, December 28, 2012

Christmas Gift from Grandkids

Last month I made these cute little displays with the grandkids for them to wrap and put under the tree for their parents.  I'd found these plates that you can put in whatever insert you want.  So using SU ink pads, I used a different color for each of the kids in the family and had them put down their prints - then connected them with a black sharpie to make them look like a string of Christmas lights.  The first was made by Paisley, Prince and Zamarah for Jenee -
 And the second was made by Kamili, Makai and Zavian for Heidi and Aaron.
I think they turned out really cute and I know the kids enjoyed making them.  Hopefully they'll be a keepsake for years to come.  ~Maureen

Tuesday, December 25, 2012

Merry Christmas!

It is the most wonderful day of the year - the day we celebrate the birth of Jesus Christ - our Savior!

Enjoy your day with those you love! Merry Christmas!  ~Maureen

Monday, December 24, 2012

Christmas Decorating

I love Christmas!!! The sights, the sounds, the smells ~ so today I thought I'd share a few of my decorations in my home.  First - here is my tree with the angel on top - I especially love all the lights off except for the tree and just laying on the couch looking at it - it gives me warm fuzzies :)
Next is how I display my cards.  I saw this on pinterest and thought what a great idea.  I hang several ribbons down my pantry door, and attach the cards with decorated clothespins as I receive them.  
I also love nativities and have several of them throughout my home - this is one of my favs.
This year I wrapped several pictures throughout my home like gift packages to give the rooms that extra festive look.
 
This is my favorite Nativity.  I purchased it piece by piece years ago from Avon - and I love it.  Every year I can't wait to set it up - I think it is so beautiful!!
Hope you liked my little tour :)   ~Maureen

Sunday, December 23, 2012

Candy Cane Centerpiece

Today I wanted to share a cute little centerpiece I made for our holiday party at work.  Unfortunately, my health became a real issue this past month, and my co-workers ended up having to do all the work of making  them :(  Here it is from a side view.
And here it is from above.  The candy canes are glued to a candle holder, and inside a smaller candle is placed so we can light it.  Then the entire thing was wrapped with a bow and put on this red charger.
 
I thought it would be really easy to do, but it ended up more difficult than I thought it would be.  Everytime I moved it the candy canes would loosen.  Here it is on a small paper plate.  Turns out the paper plate gave it a little more stability - so the centerpieces were glued to the paper plate, and then set in the center of the charger.  Looked lovely.
Just have to give a super thank you to the ladies who took this event over for me, and allowed me to be home and concentrate on getting better - they have no idea what that meant to me.  ~Maureen

Saturday, December 22, 2012

Quick and Easy Christmas Ornament

Today I want to share a quick idea for Christmas ornaments you can make in a jiffy.  Use plastic ornaments, and its great to do with the kids.  All you need is 20 - 1/2" x 3" strips of DSP (designer series paper).  Just take each strip, wrap tightly around a pencil, slide off the end of the pencil and push into ornament - keep doing till all 20 are done and voila!
And here's what I use for my ornament hangers - colored paper clips.  Just bend them from their original shape at the bottom into an "S" shape -
Slip bottom portion of "S" onto ornament and bend to close -
 Then hang on your tree - fun!!! If I get a chance later this week - I'll add some ribbon bows to kick them up a notch - but they look great on the tree just as is. 
Have fun making some of your own!  ~Maureen

Friday, December 21, 2012

A Sweet Surprise .....

Last week I received an unexpected gift from a friend of mine, Maureen S.  She stopped by my open house and gave me this beautiful little dish of sugar "cubes" or in this case "hearts" she had made - perfect gift for a coffee drinker by me. 

 She also gave me this lovely hand-crafted box -
Filled with more sugar "circles" - how great is that!!!  I love them.  Thank you so much Maureen - you made my day!
~Maureen


Thursday, December 20, 2012

Downline Surprises

Today I want to share a couple of items my downline members gave to me.  These talented ladies do wonderful stamping - and I am so thankful for them even thinking of me.  The first item I received is from Annette - she made me this great packet of simmering potpourri - even drying some of the elements themselves. 
Isn't a beautiful package full of wonderful fragrances.  I plan to simmer it Christmas day - but currently it sits in a bowl on my table in my stamping room and the entire room smells wonderful! Thank you Annette!
I also wanted to share this adorable gift card holder from my downline Julie - isn't it great!!! I am a snowman fanatic - so I really love this.  Inside was a Starbucks card - Julie definitely knows my coffee addiction.  Thank you so much Julie!!
I know I've said it before - but it bears repeating - the best part of being a Stampin' Up! demonstrator to me- is the wonderful friends I've made both in my customers and downline!!  I so appreciate all of you!  ~Maureen

Wednesday, December 19, 2012

December Cards - Card #3

Happy New Year!!  So here is the 3rd card we made at our Cards Stamp Camp.  It uses the single stamp available currently through SU! We stamped it with Staz On black, and then layered it over a piece of Black cardstock and a strip of silver glitter on black for some sparkly bling!  Added some DSP and ribbon for an elegant welcome to the New Year.
Here's a close up of the countdown - I hope you can see that we added three little gems to the bubbles for that added sparkle. 
I think it turned out great!  See you soon!  ~Maureen

Tuesday, December 18, 2012

December Cards - Card #2

Happy Birthday Banners was the theme for the 2nd card we made at my Cards, Cards, Cards Stamp Camp this month.  If you're like me - you can never have too many Birthday cards - I just can't seem to keep enough handy.  This card was made by running a layer of white through the dots folder on the Big Shot, and popping that layer up on white with dimensionals.
Then we punched 8 pennants with the Pennant punch and curled up the bottom peaks with a bone folder.  Then attached them with tape to look like pennant flapping in the wind.  We then stamped "Happy Birthday" from Curly and Cute and layered it and popped it on another piece of white.  I love the look of white on white and then the pops of color!  Hope you like it too!  Stop back soon.  ~Maureen

Monday, December 17, 2012

December Cards - Card #1

Today I want to share the first of three cards we made at my recent December Cards, Cards, Cards Stamp Camp - it uses Jolly Bingo Bits and I think it's adorable.  Everyone needs Thank You's for the Christmas gifts - so I wanted to make some.  The Thank You is from Cute and Curly - another of my favorite sets.  The colors are Whisper White, Riding Hood Red and Gumball green.  The gem on the top of the tree and the three on the holly were colored with Sharpies to get the yellow and red tones.  This is a great layout to use when you are using those tiny stamps like the ones from Jolly Bingo Bits! 
Hope you enjoyed - stop back tomorrow for card #2, and plan to join us on January 8 for my next Cards Stamp Camp - email me now to RSVP!  ~Maureen

Sunday, December 16, 2012

Tree Clothespin Clip

So today I want to share our 3rd Make and Take from our Holiday Open House - it's an adorable, quick and easy decorated clothespin - perfect for closing a Christmas package or how about topping a bag of homemade cocoa or snowman soup?!?  Love it!!


1.  Using Tombow Glue attach strips of DSP to front and back of Clothespins.
2.  Stamp tree and remove green from trunk with wet Qtip.  Marker trunk with brown and stamp.              
3.  Using framelit - cut it out on the Big Shot.
3.  Attach  tree to clothespin with 2 dimensionals.
4.  Punch star out of Cherry Cobbler and attach to tree with glue dot.
5.  Add a gem to middle of star.
THIS IS A GREAT CRAFT TO USE UP ALL YOUR STRIPS AND SCRAPS OF CARDSTOCK AND DSP!! ~Maureen

Saturday, December 15, 2012

Holiday Gift Bag

Here is the second Make and Take from our Open House last week - what a great way to use up those 1/2" scraps of DSP.


1.  Choose a brown tree stem 4" x 1/2" and tape to bag with tape on top, middle and bottom on stem.
2.  Choose Designer Series paper strips of each size (1", 2", 3", 4", 5") and tape as shown on your bag - no need to keep straight - these are crazy trees :)  Use a small piece of tape on each end and in the middle of each strip.
3.  Choose a treetop star and attach to bag with a glue dot.  Add a gem for some sparkle!
4.  Stamp "Merry Christmas" on white layer and tape to brown layer - all done!
Here are a bunch ready to fill with Christmas goodies.
~Maureen

Friday, December 14, 2012

Clearance Rack Blitz plus Ribbon Bonus

WOW - check it out - today Stampin' Up! has added over 300 new items to their clearance rack - click on the icon above to see what's there.  These items are available while supplies last only - and can be ordered directly online or you can email me and I'll put your order in.  I'll be placing orders as often as possible to try and get while in stock.  BONUS if you purchase by emailing me with your order - purchase $50 in merchandise (this can be clearance rack, catalog merchandise or even gift certificates for Christmas) and I'll throw in a roll of stitched satin ribbon from the catalog page 172.  I have many rolls on hand so will give you a bonus first-come, first-serve as my colors are used up.  Please let me know your #1, #2 and #3 choice of color - Gumball Green, Midnight Muse, Primrose Petals, Raspberry Ripple or Summer Starfruit.  That's a $8.95 value before S and H and tax - so a great bonus!! Beautiful colors to use on all your holiday projects.
3/8" Stitched Satin Ribbon
Primrose Petals Shown
Thanks for your continued support - I love being your demonstrator!!  ~Maureen

Quick and Easy Gift Tags

This was our first Make and Take at our Open House last week - a set of quick and easy gift tags for your Christmas gifts -


1.  Take a 2 3/4" x 6" piece of Crumb Cake and a 1" x 6" piece of Holiday DSP
2.  Put a strip of 2 sided tape along the middle of the back of the DSP and tape down to the bottom of your piece of Crumb Cake (or other cardstock.)
3.  Cut linen thread 6" long.
4.  Then cut the strip of Crumb Cake into 3 - 2"x 2 3/4" pieces as shown in picture.
5.   Stamp "To: From:" on Crumb Cake tags with a coordinating stamp color. 
6.  Punch a small hole in the top of each of your tags as shown, and feed the linen thread
            through and tie.  Voila - tags in an instant.
YOU COULD DO THIS WITH 12" STRIPS AND CREATE YOU TAGS FOR CHRISTMAS VERY QUICKLY!!  
So here are all mine - I just need to add names and add to my packages :)    ~Maureen

Thursday, December 13, 2012

More on Lois' Tree

I wanted to share a bit more today on how I made this Christmas Bulb Tree for my Secret Sister Lois.  I found a picture of something similar on Pinterest and had to try it.  You purchase different sizes of coordinating bulbs and then put them on a knitting needle - yes you heard correctly :) - to make the tree.  I used an empty ribbon spool as my base - I put the needle through it and glue gunned it to hold it in place - then glue gunned that entire base to the center of my red charger.
Then after putting all the bulbs on the way I wanted - I created a tree skirt using our medallion die and some coordinating paper.  I put the skirt around the bottom of the tree and glued it in place. 
Then I used a stencil and traced and cut out two of the glitter stars for the top of the tree.  I used glue dots to secure each of the points together - then slid it down over the top of the knitting needle.  It was my first attempt, and not perfect - but I was happy with it and I hope Lois liked it.  A special gift for a special friend.  ~Maureen

Wednesday, December 12, 2012

CSL gifts - Final Installment

Okay - so here are the final gifts from our CSL party -
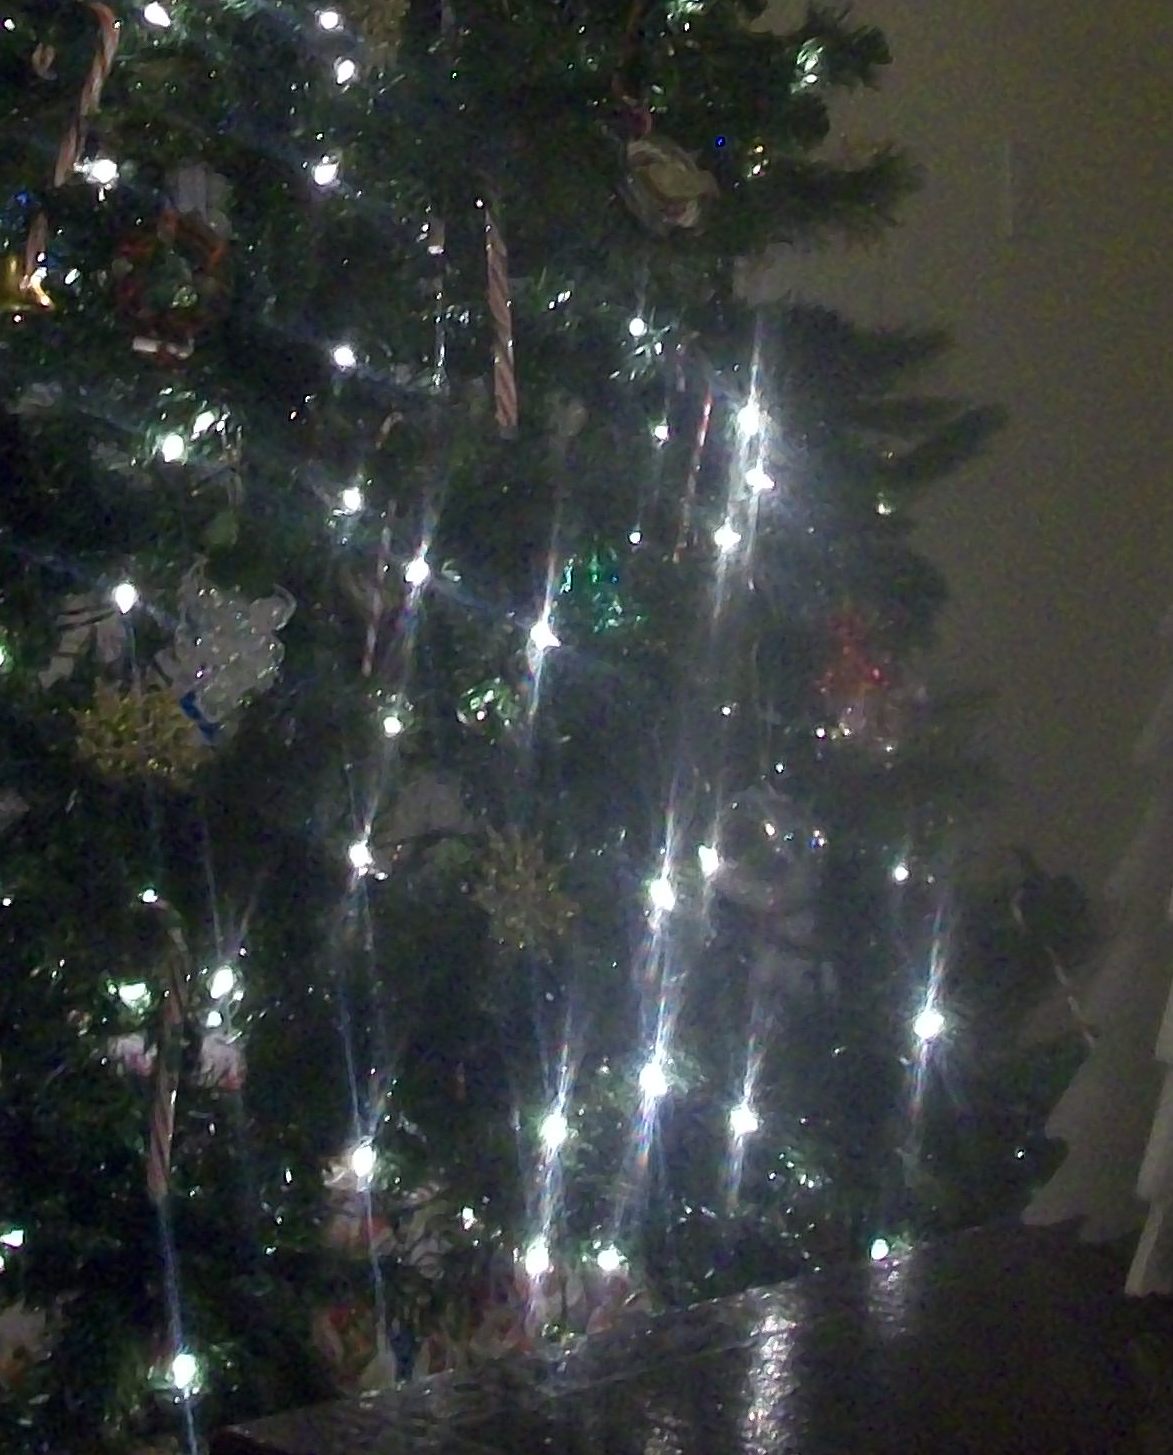
So here is my tree up close - it is wrapped newsprint and glitter paper to make this beautiful tree - with spritz and gems for decorations - I love it!!
Here I am with my lovely Christmas tree from my daughter, Heidi - I can't believe she was my Secret Sis all year long - and I didn't even know it!  Makes me wonder what else she is being sneaky about :)
Here's Maureen S's exchange gift from Kathy W.
Sandy with her little Christmas tree and Ornament set in a handmade package from Secret Sis Virginia!
And Virginia with her adorable Handmade Christmas tree and card from Secret Sis Sandy - they had each other :)

Tuesday, December 11, 2012

CSL gifts - Part V

Few more fun gifts...
Here's Laura modeling the beautiful hand-made necklace she received from Anita.
Lois with her Christmas Bulb Christmas tree with medallion tree skirt made by yours truly.
Maria with her "Christmas Story" ornament and dimensionals from Darlene.
Tomorrow is our final gift reveal.  ~Maureen

Monday, December 10, 2012

CSL gifts - Part IV

Another round of great gifts -
Here are the beautiful hand-stamped coasters that Kathy B received in the gift exchange from Laura.  Kathy had to leave early so was not in the picture!
Kathy S got this beautiful tea set and hand stamped card and bag from Elaine.
Here is Kathy W. with her decorated coffee thermal mug and beautiful hand-made package and card from Kathy B.
See you tomorrow  ~Maureen

Sunday, December 9, 2012

CSL gifts - Part III

Here we go with another round of gifts ~Maureen
Here is Elaine's with her adorable tissue holder from Christel, using our Storytime paper.
Heidi's is a Secret Sister gift so a bit more - Julie made her this great apron in a jar using our SU fabrics - how cute is that!
Here is Karen's great Secret Sister gift from Lois - it's a pot with paperwhite bulbs in it for the holidays - and a set of our adorable SU ornaments from Convention.  Karen was not able to make it, so wasn't able to be in the picture.