This month our hop is about thanks - and I hope you like all the projects you see. Be sure to go to the bottom and hop on through the other links after you've checked out my post. Sharing up front that this is the perfect month for thanks for me as on the 19th - I am 9 years cancer free!! What wonderful words they are - and how thankful I am to be able to be here and share them. I was diagnosed with uterine cancer 9 years ago. Fortunately it was caught early - but my prayer is for every person going through cancer now - that in 9 years from now you will be able to share those words too! So on to today's Thanks project - I made this adorable little decorated sweet cup and matching card.

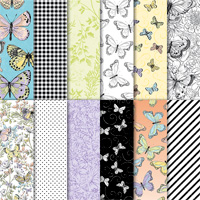
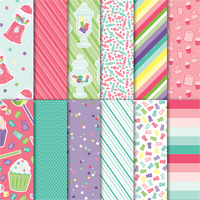
These are just beautiful to me - I am a clean and simple gal - and the polka dots with the pop of color from the butterflies - wow, just wow! I never use this much DSP on a project (yes, I am a hoarder of DSP). But this is FREE DSP that you can get during Sale-a-bration - so that FREES me up to use more lol. The paper is called Botanical Butterfly, and each sheet is a black and white design on one side and a colored design on the other - how can you go wrong!?!
Below you can see the card from the side, and how using just a couple of glue dots behind the butterfly bodies and folding up their wings can give you so much beautiful dimension.
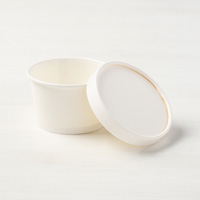
Then to match - I made this adorable little decorated Sweet Cup. These could be made to match any sentiment or holiday, just by switching up the paper you design them with.
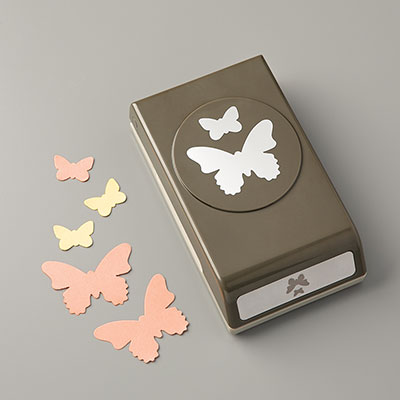
The butterflies on here were attached the same way, with the wings folded up - looks like they are about to take off in flight. And they were so easy to punch out of the DSP with the coordinating punch (see list of materials at bottom of post). Here's a top view.
These would be perfect to fill with tea bags, candies and more and give to someone as a thank you for their kindness.
I hope you liked my projects and got some inspiration. I would love it if you left me a comment below. Don't forget to click through on each name below to see even more wonderful THANKS Posts. See you soon! ~Maureen
Check out all these other Awesome Bloggers -
Inlinkz Link Party -
Remember it's currently Sale-a-bration where you can earn FREE merchandise with every $50 purchase. Just click HERE for full details; and then click on SHOP NOW to see the catalogs. Or if you'd like a hard copy of our Annual catalog, Occasions catalog and Sale-a-bration catalogs mailed to you, just let me know. If ordering online please use my current hostess code -
Thank you!
Click on any image below to go straight to my online store -