Be sure to hop through all the blogs on the list near the bottom for tons of wonderful inspiration as we celebrate "Saying it with Sentiments!!"
~*~*~*~*~
If you've come from Teri's post - her projects are awesome! So, if not, be sure you swing back to see her.
I started with a card from a set that uses some wonderful sentiments - "Positive Thoughts."
There are only a few sentiments in this set - but they are very meaningful - plus, all of the images for this card are from this set. I just love everything about it. The layer with the zig-zag edge was made by cutting the front off of one of our ombre - in-color treat bags, fun huh!Then, since we are concentrating on sentiments - a while back I shared how I keep extra sentiments in a clear cello bag - so if I need one in a hurry - it is ready to go. Here's what I mean.
So I decided to make a little box to store them in - I just drew out a little pattern measuring how wide and tall I wanted it, as well as the depth - then made this - It works perfect - and bonus - this size could also hold four A2 cards with envelopes for gift giving.Finally - just because we are on the topic of sentiments I wanted to share this bonus hostess offering till the end of September - the "In Your Words" stamp set in the back of the Sale-a-bration catalog. You can get it free with any $300 order or workshop and it is amazing -I hope you can read all those great sentiments - but there is one special one for me. I created this card using last month's Paper Pumpkin kit - and it is a birthday card -But I am over a week late in sending it - so here is what I did -How great is that. I will keep this sentiment forever as it is perfect to stamp on the flap of any birthday card going out late. Believe me, it will be well used! Hope you liked my homage to sentiments :)
~*~*~*~*~
Once again, thank you for stopping by my blog. Maybe you got some inspiration for creating something wonderful of your own. I would love it if you would leave me a comment below and stop back soon. Don't forget to click through on each name below to see even more awesome ideas - starting with Melissa's.
See you soon with more ideas!
~*~*~*~*~
September 2021 SF Hoppers - check them all out by clicking on their links for some more great ideas - and please leave comments if you can, to show appreciation for their work :)
~*~*~*~*~
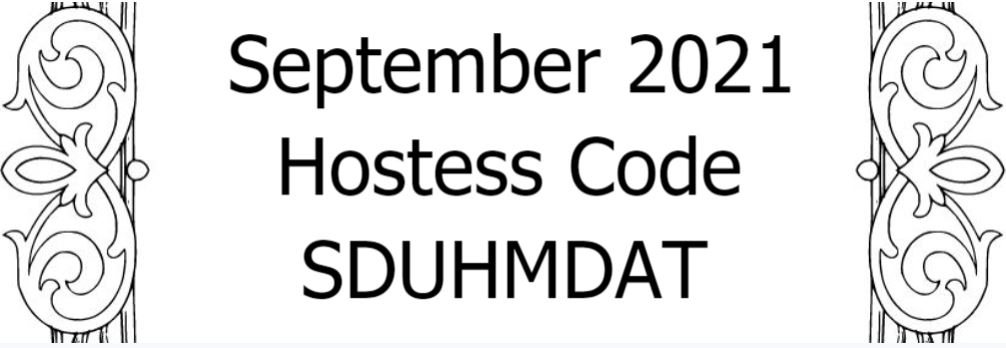
*NOTE: If your personal order is not part of a current party and you are ordering over $150 in merchandise - please do not use this code; as your order without the code will qualify you to earn a minimum of 10% in hostess benefits.
~*~*~*~*~
If you don't currently have a demonstrator, and would like a catalog or to learn more about Stampin' Up! and our products, please email me at crazystampinglady@gmail.com
Stop back soon for some more creative fun and inspiration. ~Maureen