Showing posts with label Blends. Show all posts

Friday, October 29, 2021

CASEing the tutorial Global SU Share Fair Blog Hop!

How fun - this month our Global Share Fair presenters are CASEing the tutorial cards from our Global Share Fair in January 2021 and giving them a Holiday twist!  I chose to case this beautiful card from Sandra Roberts - giving it a Thankful Flare for the upcoming Thanksgiving Holiday! This card was so cheery and summery - so let's see how I can switch it up.

So what do you think of the card below - same fold - same layout - same decorated envelope - completely different look! Right?!?

Taking the base to a dark Evening Evergreen from the red was my first step - and using darker tones, include the cork DSP really made a difference - 
I used the Sparkle of the Season set and coordinating dies - adding a sentiment and some of the pinecones to the inside of the card.
Next I stamped my outside sentiment "GRATEFUL" on a little strip of Basic White, flagged the end and using a bone folder made this curvy banner.  I added two dimensionals under the upper curve to help it keep it's shape and glue dots at the lower points to secure it.

Next I stamped and die-cut branches, pinecones and a little pumpkin to finish off my wreath!  As well as some of the metallic dots (I colored them with my Evening Evergreen blend so they would match) to add just a touch of whimsy.
Finally I finished off the envelope just like Sandra did with a strip of cardstock (crumb cake) and a strip of DSP - in my case the cork; and I added the cork DSP to the envelope flap.  I probably would not send this through the mail, as the cork has a lot of dimension and might get torn off the envelope - but for hand-giving - it is such a pretty card.
I hope you enjoyed this card and the transformation my CASE did for it - hop on through and see all the other great samples - and be sure to comment and let us know when you think!


~*~*~*~*~

To order any of Stampin' Up's products you can go directly to my online store - www.stampingwithmaureen.stampinup.net  and click on SHOP NOW.  Please use the Hostess Code C4KG6QKP to get full benefits from me -
~*~*~*~*~ 
  *NOTE: If your personal order is not part of a current party and you are ordering over $150 in merchandise - please do not use this code; as your order without the code will qualify you to earn a minimum of 10% in hostess benefits.   

 ~*~*~*~*~

If you don't currently have a demonstrator, and would like a catalog or to learn more about Stampin' Up! and our products, please email me at crazystampinglady@gmail.com

Sunday, May 31, 2020

5 30 2020 Coffee and a card... use up those scraps!

So I've been doing Facebook Live Coffee and a Card - to keep everyone engaged.  Each time I share a card, or technique, or in the case of my new upcoming one information on the new catalog and my catalog shares.  If you are on Facebook and interested - watch for this picture - I try to send out a day or two before I go live and again about an hour before as a reminder.
On the 30th of May I had one about using up some of your Designer Series Paper scraps - and below is the cards I made -
 
From the last card kit I offered I had a bunch of scraps left over from the kits - so I wanted to do something with them  - and this is what I came up with.  The base was in Whisper White a normal A2 base (dimensions in the video); then the Lovely Lipstick layer 5 1/4" x 4".  So the DSP strips for the vertical card were three 5" x 1 1/4" pieces.  If you line them up right next to each other - the fit perfectly with a nice border.
For the horizontal card I used four 3 3/4" x 1 1/4" strips and did the same thing.  You could also use five 3 3/4" x 1" strips or even ten 3 3/4" x 1/2" strips.  Then finish as you like.  I'm sharing the video here in case you'd like to make some cards of your own to use up strips.  Enjoy - 


(Products Used - Best Dressed DSP, Dressed for Success Stamp Set, Stitched so Sweetly Dies, Light Soft Suede, Bronze, and Dark Lovely Lipstick Blends, Pearls, Polka Dot Tulle Ribbon, glue dots, dimensionals, snail.)
You can join me on my Crazy Stamping Lady Facebook page - HERE! on Wednesday, June 3, at 9:30 AM (MST) for my next Coffee and a Card mentioned above.  Also on Friday, June 5, at 9:30 AM (MST) I am doing my second mystery stamping.  I'll be putting out the first clue soon on what you need to gather to join me and craft along - so watch for that.  
In the meantime - have a great day, stay happy, stay healthy and stay creative!  See you soon ~Maureen

Saturday, November 23, 2019

My Favorite Stamp Set - Hopping Around the World!

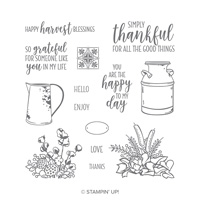
I am so very happy to be hopping with this lovely group of stampers for the month of November.   And, loving this theme of sharing our favorite stamp set with all of you.  Even though I do not have "one" favorite - I am sharing one of my very favorite stamp sets today.  I love this Country Home set - and have used it many times - the Milk Can really caught my eye, as hubby grew up on a dairy farm and we have several milk cans from that time.
Mostly I have made only Fall themed cards, as it lends itself so well to that - but then I saw a few Christmas cards made with it on Pinterest and fell even more in love!   So really, just by changing up the colors,  you can really extend the use of this set.  I ended up making this one for one of my Christmas card classes.  It uses the Corrugated 3D embossing folder with Real Red Cardstock for the background layer; and Crumb Cake for the flagged banner.  The pitcher and the arrangement in it were colored with Blends, then I fussy cute the bouquet and popped it up - adding a little ribbon for good measure.
Below is how we finished the inside of this card -you can see it opens from the side - which also gives it special character.
I hope you enjoyed this card - but don't stop now - be sure to hop through our group to see all the beautiful projects made with favorite Stampin' Up! stamp sets.  All you need to do is click on their link.  ~Maureen

  1. Claudiasecke (D) - https://www.claudiasecke.de/2019/11/hopping-around-world-my-favorite.html
  2. Rebecca-Jo Unwin (Australia) - https://rebecca-jounwin.blogspot.com/2019/11/hopping-around-world-blog-hop-november.html
  3. Rachel Macleod (UK) - https://onthewingsofcraft.blogspot.com/2019/11/hopping-around-world-blog-hop-favourite.html
  4. Jennifer Downey - http://www.stampinglane.com/2019/11/hopping-around-world-my-favorite-set.html
  5. Mo Rootes (UK) - https://wp.me/p73ZP5-ZN
  6. Sandra Herzog (AT) - https://herzerlskreativecke.at/2019/11/23/hopping-around-the-world-my-favorite-stampset
  7. Margriet Siekman (NL) https://creatiefmarsie.blogspot.com/2019/11/hopping-around-world-blog-hop-mijn.html
  8. Melanie Igelbrink (D) - https://mellisstempelparadies.com/?p=11012
  9. Maï Chapelain (France) - https://mesmainslontfee.com/?p=4897
  10. Tanja Klingler-Selinger (AUSTRIA) - not this time
  11. Susan Simpson (UK) - https://craftyduckydoodah.blogspot.com/2019/11/first-frost-hopping-around-world.html
  12. YOU ARE HERE - Maureen Rauchfuss (USA) - https://crazystampinglady.blogspot.com/2019/11/my-favorite-stamp-set-hopping-around.html
  13. Sheila Turner (Canada) - https://cardsalot.wordpress.com/2019/11/23/hopping-around-the-world-my-favorite-stampset/
~*~*~*~*~ 
 
  To order any of Stampin' Up's products you can go directly to my online store -www.stampingwithmaureen.stampinup.net and click on SHOP NOW.  Please use the Hostess Code below to get full benefits from me - UAKPA4G2.  Thank you! 


Or you can click on any image below to go directly to my online store -

Tuesday, November 5, 2019

Quick and Easy - three projects today!

Today I thought I'd share the three quick and easy projects we made at my last BINGO day! My Bingo projects are pretty easy to complete, as the ladies need to do them with just a few printed tips - and these all worked well.
 ~*~*~*~*~
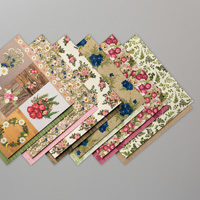
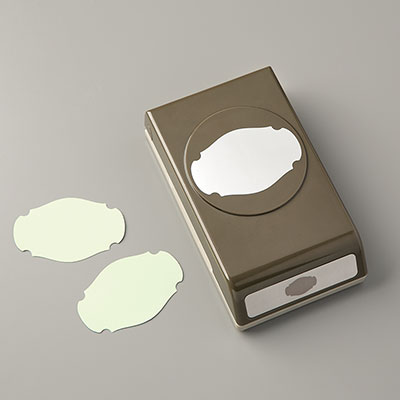
The first was this cute vintagy looking Very Vanilla note card - it uses products from our current annual catalog  - the Pressed Petals Suite on page 73.  (see products used at end of post).  Our note cards are 3 1/2" x 5" - so the Rococo Rose layer is 3 1/4" x 4 3/4" and the Designer Series Paper is 3" x4".  We added a strip of Scalloped Lace trim to the top and the bottom.  Stamped our sentiment and punched with Story Label Punch - which we also layered on a cut apart Rococo Rose layer.  Then colored our gems with the Rococo Rose Blend - and add for some bling!
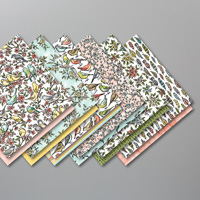
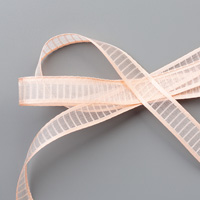
Second we made this beautiful bookmark/gift tag - also using products from the annual catalog.  It uses products from the Bird Ballad suite on page 91.  The designer paper is so beautiful - so we just cut a 2" circle - layered it on Petal Pink 2 1/4" circle.  We stamped tone on tone for the bookmark which was 5 1/2" x 2" to start with before punching the top with the Scalloped Tag Topper punch.  Layer our sentiment and used Petal Pink striped organdy ribbon and Linen Thread to finish it.
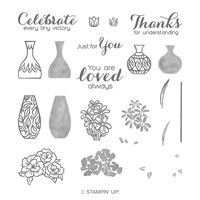
Our final project was this cute and quick vase card - with products from the annual catalog.  This is a regular A2 card with a Basic Black layer of 4" x 5 1/4" and a Crushed Curry layer that was 3 1/2" x 4 3/4".  We punched the vase out of the Mosaic Mood Designer series specialty paper and stamped the flowers so the vase would go right under.  Then layered this on a Whisper White Oval and a Black Scallop Oval using the Layering Oval dies.  Love how it turned out.  ~Maureen

 ~*~*~*~*~ 

  To order any of Stampin' Up's products you can go directly to my online store -www.stampingwithmaureen.stampinup.net and click on SHOP NOW.  Please use the Hostess Code below to get full benefits from me - UAKPA4G2.  Thank you! 

Or click on any image below to go directly to my online store -