Showing posts with label vellum. Show all posts

Wednesday, June 12, 2019

Beautiful Bokeh

So I have loved this technique for years - but I forget about it.  Recently I had a club member ask about Bokeh and so I decided to play with it for our May Technique clubs.  Our finished product was this card below - using the now retired Dragon Dreams dies.
The technique is really pretty simple - you start with a base of color - in this case we used daubers to add a series of colors to a piece of WW cardstock till it was virtually covered with color.
Next I used a vellum template I made by cutting out circles using our layering circle dies in different sizes.  Using our craft white ink and working largest to smallest circle - we added circles of white right over the colors.  You can see in the picture below how the circles overlap and layer to give that Bokeh look and depth.
Here is another view where you can see the circles.  Now this is craft ink, so you need to let it dry completely.  I like air-drying better than the heat tool, as I think heating it mutes the circles more- but if you are in a time pinch - go ahead and heat it.
Then when you are done, you can stamp on it, or layer over it like we did in the first picture.
However you decide to finish it, I am sure it will be beautiful.  So go ahead, give this one a try!  ~Maureen
To order directly from me online, just click on any product image below and it will take you to my online store - be sure to use my hostess code below before check out to get full benefits from your shopping.  Note: if your order is over $150 pre Shipping and Handling and tax - do not use the code - as you will get some free merchandise directly from Stampin' Up! for an order that size. 

Saturday, April 6, 2019

Quick little Birthday card!

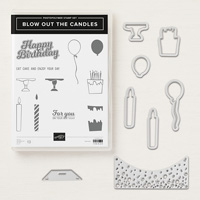
Sharing a quick and easy birthday card using the Blow Out the Candles from set from the Annual Catalog.  We actually made this at a birthday card class before Sale-a-bration, and I never got around to posting it.  I know I saw a very similar card somewhere that gave me the inspiration for it.  I love it, and the great part is that it could be changed up for any birthday color you want - male, female, teen, child - works for all.
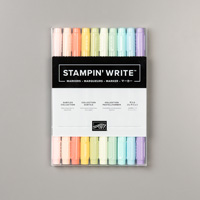
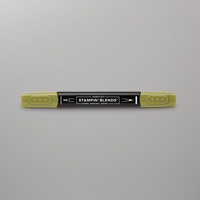
There are stamps you can use to actually stamp the cake and frosting colors, but I opted for markers for this card.  Colored, cut out and added a bit of Wink of Stella.  One of the funnest parts of the card is the colored pearls which I colored using Stampin' Blends.  I love how you can make them any color you like to match your projects.  Same goes with a lot of our embellishments.
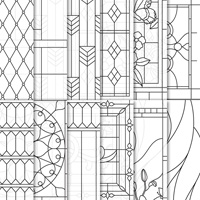
Finally you can see I used the amazing Graceful Glass vellum behind my cake - which I then popped up on dimensionals.  That was layered over the repeating "Happy Birthday" sentiments.  I think it turned out really cute, and actually ended up making several of this card.  Hope you liked it too!  ~Maureen
Stampin' Up! has just introduced an amazing new modular Storage System.  Just click HERE for full details; and then click on SHOP NOW to see our products/catalogs.  Or if you'd like a hard copy of our Annual catalog, or Occasions catalog mailed to you, just let me know.  If ordering online please use my current hostess code -
Click on any image below to go directly to my online store -

Wednesday, February 26, 2014

Stained Glass Vellum card

Today I want to show you the steps and the final product of the Spring Card we made using the Stained Glass Vellum technique.  The very first step was to heat emboss the flowers on vellum cardstock using white embossing powder.  Then we flipped the vellum over and sponged on color on the back using daubers.  We didn't have to be careful with the coloring here, as we're going to cut out the flowers.
Here is the vellum flipped back over and you can see the beautiful color coming through.
The we carefully cut out each flower and the stem of leaves.  Aren't they pretty.  So soft looking - perfect for a bridal shower or wedding card.
So here is the final result - we dry embossed the white later with the dots,  Punched a great tag out using our new tag topper punch, added some ribbon, dimensionals and pearls.
 That's it!  Beautiful- I really like the look of this technique and I love how the card turned out.
See you all soon.  ~Maureen

Tuesday, February 25, 2014

Stained Glass Vellum Technique

Each month I share the technique we learn in club - and this month was Stained Glass Vellum Technique.  The 6x6" technique card below is what we made to put in our binders.  You can see the flowers are embossed in black, then flipped over and colored with markers from the back. 
This technique can be done very simply like this or elaborate by using several colors on the back and blending.  It is a beautiful technique and if you stop back you'll see the wonderful Spring card we made using this technique.  ~Maureen