Technique Try-It Class!
Hi all - so recently I started up my technique club again here in the Prescott area - to kick it off I did a TRY-IT class - Free with a $25 purchase - no further commitment. And guess what - I filled it the group. Now I have a few more interested, and am looking to start another group. So much fun!! So today I'm sharing what we did for our Try-it technique -
So here are a few tips - any foil will work - but since the thinner it is the easier it tears - I suggest using the heavy duty type.
We took a scrap piece of cardstock as our base and folded the foil around it. This will allow the foil to hold it embossed design later after you place it on your project. Otherwise it would easily flatten out. Another tip here - the card above says to use adhesive (I used a glue stick while experimenting) to adhere the foil to the card. After several tries I realized you really get the same result with or without adhering it first - so that part is optional. I did notice though, that if it does tear a bit - it will tear more if not adhered - although this has not been a big problem.
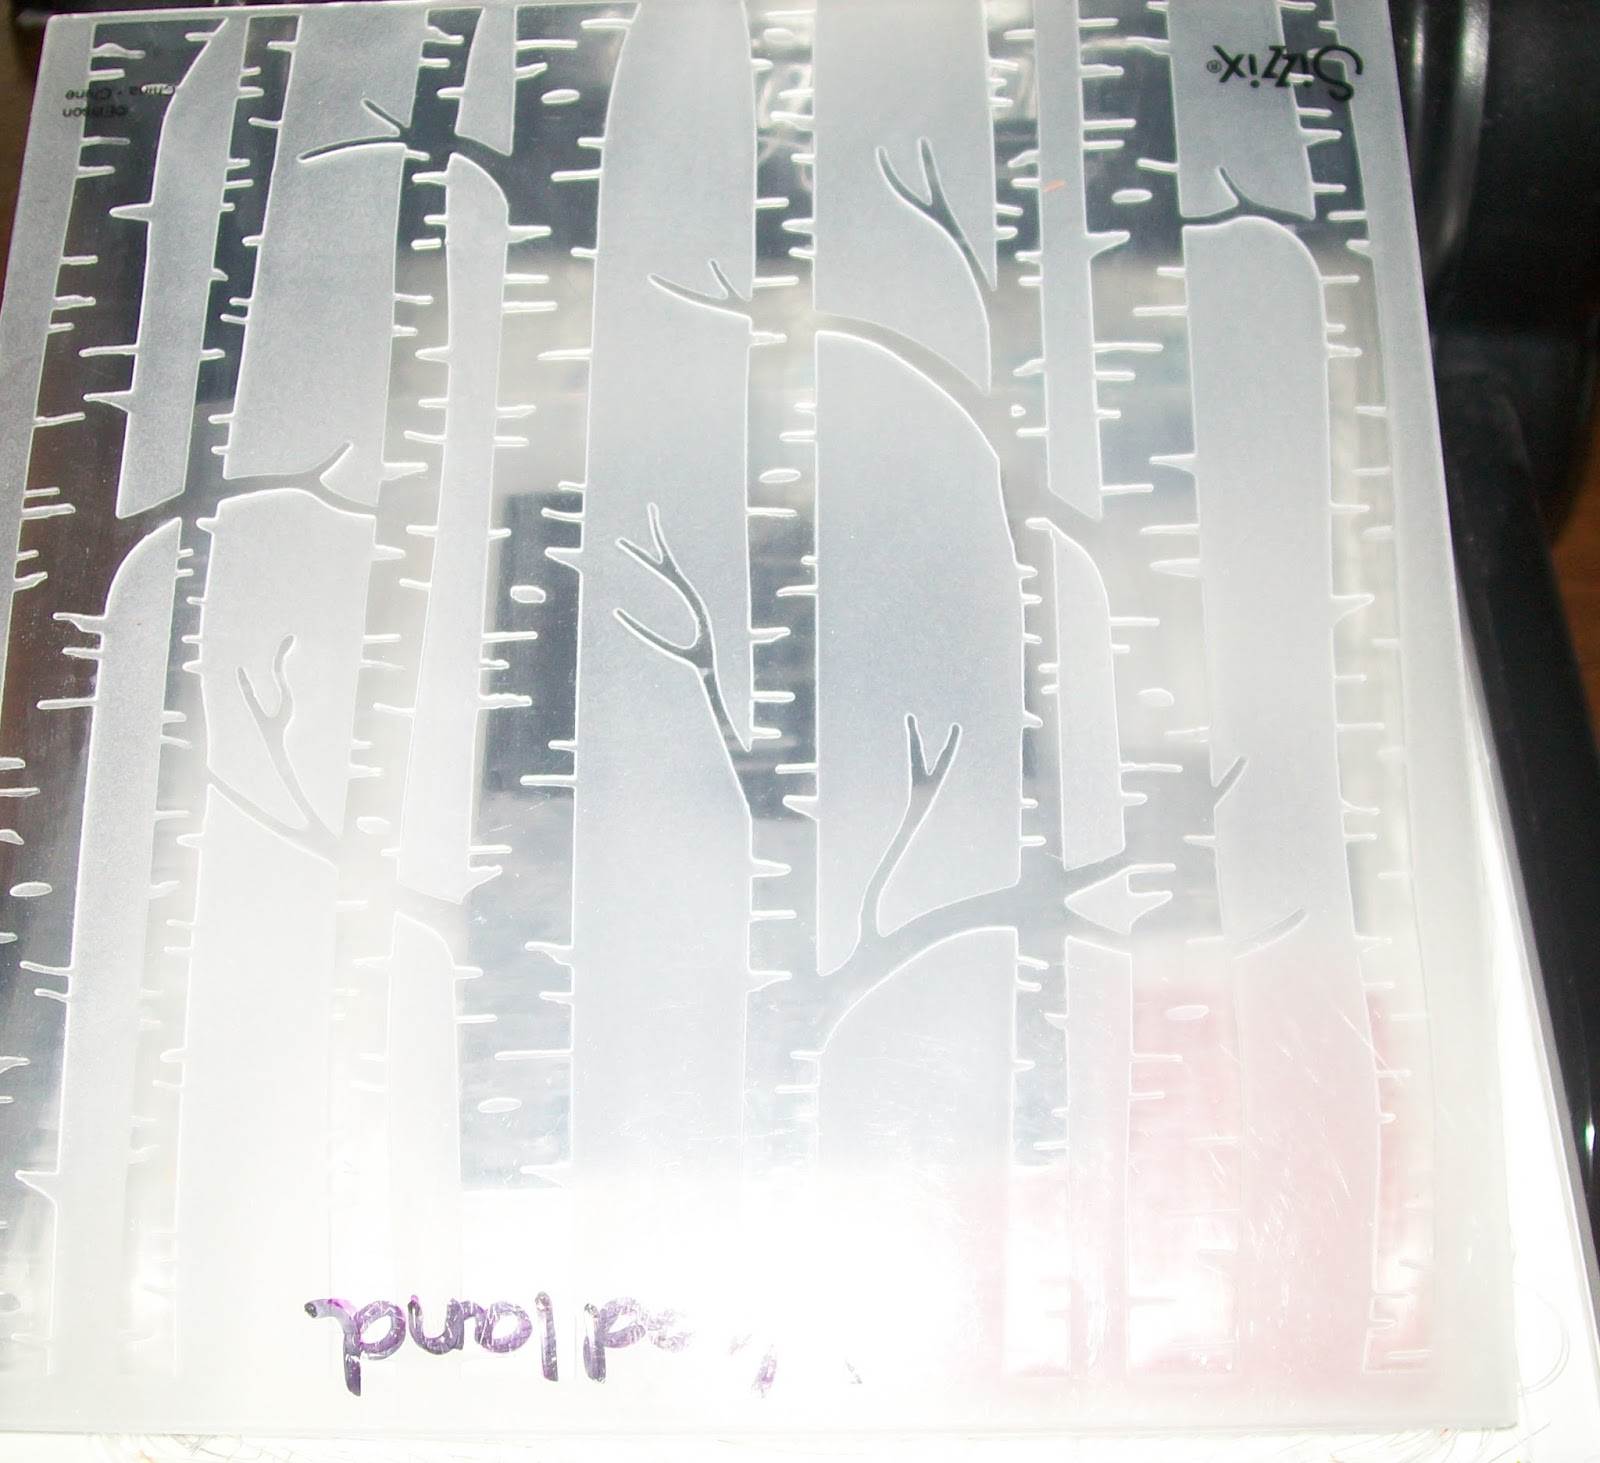
After folding it - I used the bone folder to crease those folds around the cardstock and to smooth the foil on the front - then we placed it into the Woodland Embossing folder.
Here you can see the smooth foil piece before embossing -
And here is what it looked like after -
We cut out a couple cherry cobbler birds and popped them up on the branches to give it a finished look. This is really a fun technique with a beautiful, elegant feel to it. Stop back soon to see a card made with this small sample piece and the card we made as a group using this technique. If you try this - please email me a copy of your card and I will be sure to post it. See you soon! ~Maureen


No comments:
Post a Comment