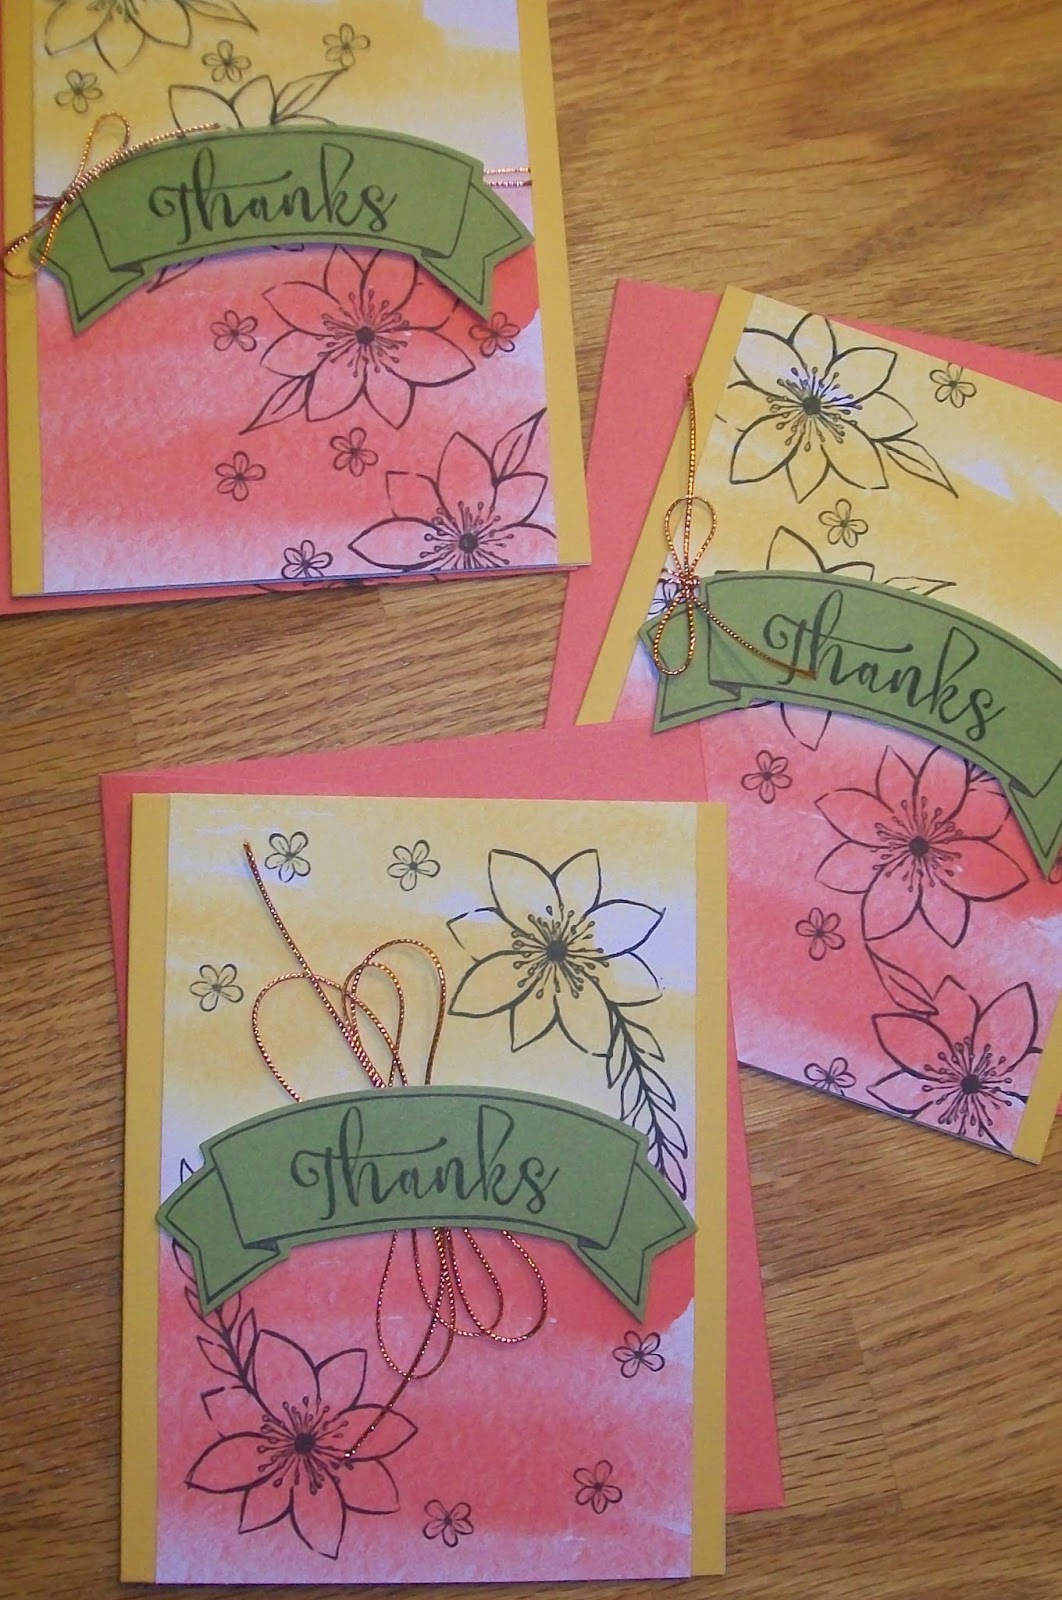
Saturday, November 14, 2015

Nature's Beauty in a card!

Today I'm sharing another beautiful card we made at Stamp Camp 2015 - it was truly one of my favorites!  I loved everything about it - the color, the layout, the fact that it's nature - that it used tone on tone - that it has a silhouette - what is not to love about it.

I did catch a small edge of the stamp right above the right bird - but that's the nature of hand-stamping - there are always slight flaws and imperfections.  That is what make the cards so endearing.  Hope you like this one too - I can see myself making this one again.
See you soon!! ~Maureen
Below are the products we used for this card - click on any image to get to ordering page - 

Wednesday, November 11, 2015

Christmas Cards and Coffee


Crazy Stamping Lady’s Christmas Cards and Coffee!!* 

Starbucks Conference Room -   
1861 E State Route 69 Prescott, AZ***

 Thursday, November 19, 2015

6:30 - 8:30 PM

 Cost: $15 to make four beautiful handcrafted greeting cards and envelopes.**

Two each of two different designs and sentiments.  

THIS MONTH WE'LL BE MAKING TWO DIFFERENT CHRISTMAS CARD DESIGNS. 

If you do not celebrate Christmas and would like a Hannukah or Winter theme alternative - let me know at sign-up!

  Price includes your choice of beverage from Starbucks up to a $5.00 value; and all materials prepped and ready to complete your cards, plus instruction from me.  I'll have a little treat for all and a doorprize drawing.  No additional purchase necessary.  There is nothing better than coffee and crafting with friends - lets get-together and have some fun!
 
 Limit 8 due to space limitation in conference room - if enough interest will offer class again.  Must email me at crazystampinglady@gmail.com to RSVP and hold your spot, I will always confirm your place in the class by email or facebook messenger. 

Class must be ½ full to avoid cancellation – so grab a friend (or 2 or 3) and come make something wonderful!

 I'm so excited to get STAMPING here in Prescott - and I'm hoping you'll come join me.  Since I'm trying to re-establish my business here in my new hometown - I need your help.  Please spread the word and invite friends to join us - I'll have a gift for you and your friend at the event!!

NOTE all the cute little details on this guy - he is so much fun!!
 
*Stamp Camp/Class/Club Cancellation Policies - PLEASE READ TILL END OF POLICY!! If you cancel your reservation at least 48 hours in advance of the event there will be no cost to you. If you cancel within that 48 hours I will try and place someone from the waiting and if that works there will be no charge to you; otherwise you will be responsible for the class fee (If a stamp camp - you will receive the material packet with pictures (by email or on my blog) to make your projects.  Stamping may not be done for you, so you may need to adjust the project slightly using what stamps you have available. Or you can choose to purchase the purchase requirement for the event in merchandise from Heidi or Maureen.)   If no purchase requirement is listed for the specific event, you must purchase 2 1/2 times the cost of the class/stamp camp/event or pay for the event. If event is cancelled by me - full refund will be given of any pre-payment. All events must be half-full to avoid possible cancellation. Check your emails for confirmation and to be sure events have not been cancelled.
**Products: Expired products may be used for these events - discuss with your demonstrator if you'd like suggestions on current product substitutions.  Must be 16 years or older to attend this event, unless other accommodations have been pre-arranged.
***Events at Starbucks: Please check in with me in the conference room, pay for event, and pick up the Starbucks card I have to go get your beverage of choice.
Maureen Rauchfuss ~ the 'Crazy Stamping Lady' says "come join the FUN!"


Tuesday, November 10, 2015

Stamp Camp Christmas

Today I'm sharing another card I made at the all day stamp camp by Kristine and Carla Mooseman - It is so elegant!  We embossed the shepherds and star from the Every Blessing set in the large SU! catalog.  Then framed it with the Deco Labels framelit and Gold Foil. 
Here you can see the card open - so you get the concept of the framing on the front.  The front and a black layer wer cut with the larger layer from the framelits, and the gold with the next smaller and then taped to the back of the black layer and then placed on the front of the card - did that make sense???  Well - no matter - it does look pretty!
Added this cute little gem to the middle of the star for some extra bling.  (NOTE: there were no embossing buddies there - so a bit of the embossing stuck to the black - reminder - always use an embossing buddy :)
Then, I hope you can see this - we embossed the wooden snowflake with white craft ink and white embossing powder, then tied on a pretty little gold bow.  
Very nice card!! ~Maureen


Here are the products we used on this card - to order from my website - click on any image.

Saturday, November 7, 2015

October Paper Pumpkin


So - Paper Pumpkin is SU's Monthly kit in a box that is delivered right to your door.  It includes everything you need to make that month's project and should only take you about an hour to do so - so it's like a mini creative retreat in a box.  And in October they donated to BCRF for each box of Paper Pumpkin that went out. So I needed to share this from their website -

A HUGE shout out to all our Paper Pumpkin subscribers! Because of you, Stampin' Up! donated $36,378 to the Breast Cancer Research Foundation, a world-class organization dedicated to ending breast cancer! Together, we truly make a difference. Thank you! 
How amazing is that!  This month's kit was adorable - and I'm sharing a couple pictures of what I did with it.  It comes with instructions on how to make the kit - but I usually take some creative liberties.

If you'd like to order Paper Pumpkin for November - just go to www.MyPaperPumpkin.com and order by 11/10/15 - be sure to choose me as your demonstrator (unless you already have a demonstrator - then please choose them!)  

You can also see videos of many of the past Paper Pumpkin kits at the YouTube Paper Pumpkin Channel - check it out HERE!

Thanks for stopping by!  ~Maureen

Friday, November 6, 2015

Sleigh Ride Edgelits Stamp Camp Card

This card is simply stunning - a BIG thank you to Kristine and Carla Mooseman (also demonstrators in Arizona) who hosted an amazing Stamp Camp last weekend.  Thank you for inviting me.  It was so much fun - and the projects were out of this world.  I'll be sharing several over the next weeks - so be sure to stop back often and see what we created.  I love this card so much.  When I opened the SU Holiday Catalog I immediately fell in love with these edgelits and after making cards with them - I love them even more.

The colors on this card are simply beautiful - but what I love are the details - the punched circle for the moon rising over the snow scene.  The embossed falling snow on the base.  The little snowflake and gem up in the sky, etc.  It all comes together so wonderfully.
Here is the inside of the card - you can see the houses peeking through.  Just such a fun card!  Hope you liked it as much as I did!  ~Maureen

Here are the products we used to make this card - click on any to order from my online store!

Thursday, November 5, 2015

Beautiful Fall Card

Today I'm sharing this beautiful card made by my downline Paula - she did this as a project for the group and everyone loved it.  Me - I'm a clean and simple gal - so this card is right up my alley.  It would be a great card to duplicate - and is sure to get oohs and aahs by the recipient.
You can see more of Paula's work at her blog - http://www.stampinup.net/esuite/home/thehappyfulstamper/ - so be sure to check it out!!  See you soon!  ~Maureen

Monday, November 2, 2015

Man how time flies!! - Personal Post Monday with an APPLE CRISP recipe!

Okay - so an entire week flew by and here it is Monday and time for a personal post.  I was going to post about our Wisconsin trip - but I haven't even uploaded those pictures yet - so instead you get Halloween - lol!!  But be sure to go to the end of this post for an amazing Apple Crisp recipe - it is my FAV!!

So here are pictures of my grand kids on Halloween night - it's the first Halloween ever that I think we have not spent with at least some of them :(  But my girls were sure to send me pictures -
Paisley, Prince and Zamarah as Minions!
Kamili as Bat Girl and Makai as Wonder Woman!
Zavian as Captain America and Kyan as Iron Man!
Here's the entire crew lined up and ready to hit the streets for CANDY!
So - I had apples in the fridge that I had purchased before our trip and they needed to be used - so I decided to make Apple Crisp.  Hubby loves anything with apples - but this recipe is so simple and soooo delish!  I used my Pampered Chef Apple Peeler-Corer-Slicer - which makes prep so quick!
 
Here's a picture of the pan  - this makes a small cake pan full - this pan was 7" x 11" and is what I used the recipe below for. If you are using a regular size cake pan - you'd probably want to half it again or even double it. You can fill the pan to the very top, as it cooks down some as it bakes.
And I meant to show this ala-mode picture before I started eating it - but my appetite got the better of me :)
I also took the peelings - a cup of water and some cinnamon and simmered it on the stove - it make the entire house smell amazing and I was able to do it again the next day with the same pot of peelings before having to throw them.  Such a warm, cozy feeling in the house when you do this.
So finally - here is the recipe - please let me know if you try it and what you think.  I like it best when it is still warm out of the oven with vanilla ice cream.  But it is good cold too!  Not that it lasts long around here.  Enjoy - and stop back soon!  ~Maureen


Apple Crisp - YUMMY!
5-6 big apples (I'm biased towards Granny Smith, but Granny Smith and Honeycrisp mixed are great too.)
1/4 cup lemon juice and 1/4 cup water mixed
ground cinnamon  
TOPPING -
1 cup flour

1/2 cup brown sugar

1/2 cup white sugar

1 stick cold butter sliced into about 8 pats
Peel your apples, and slice them into a buttered casserole dish or cake pan. 
Pour the lemon juice mixture over apples.
Generously sprinkle cinnamon on top - use as much or little as you wish - I love cinnamon - so mine were covered pretty well.
Combine flour, brown sugar and butter into a pretty bowl with your fingers till crumbly. You could also use a pastry cutter for this - but I like using my fingers for this step.
Pour crumbles evenly over the top of apples. 
Put in the oven at 375 degrees for 30-40 minutes or until nice and golden brown. 
EAT AND ENJOY!!