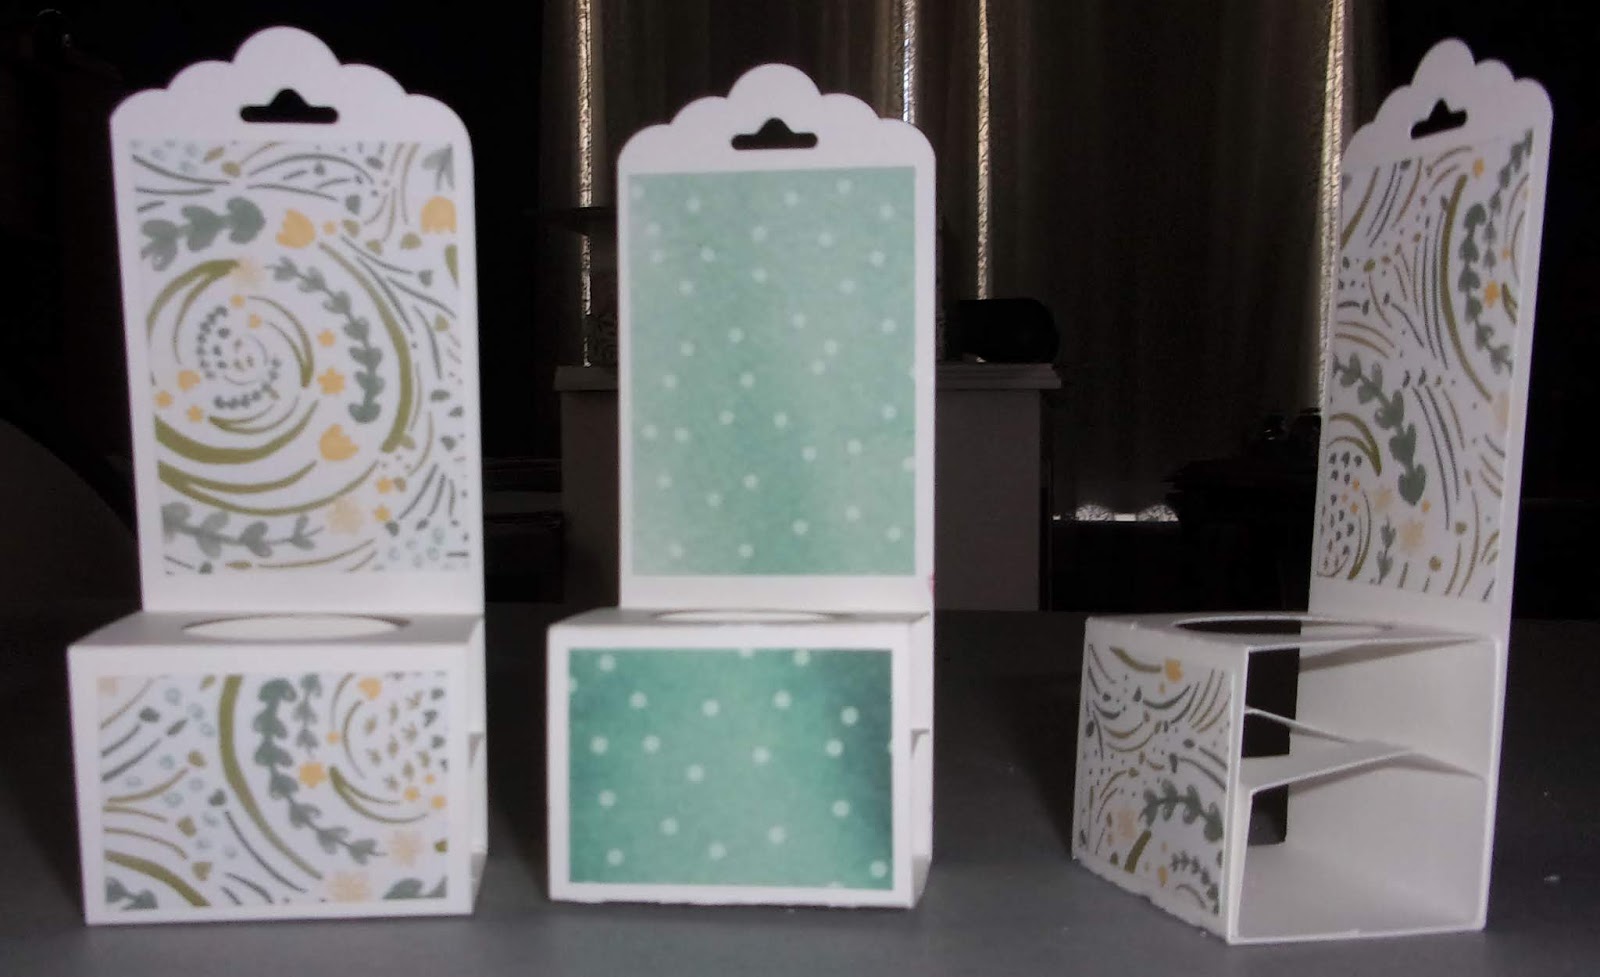
These Tombow liquid glue holders are such fun items to make and useful to boot! The packages below were made as a gift for my TEAM members attending OnStage in Las Vegas.
Here is another view from the side lying down, so you can see how it was put together.
Below is a diagram of how I cut the pieces - the first is the insert that is scored, punched, folded and placed inside as that bottom section that holds the tip of the Tombow glue.
Here it is punched and scored.
The long piece is the out layer and top of the holder - here it is punched and scored.
The other two pieces in the diagram above just show you how the sections fold together and then the small one will adhere inside the folds of the larger piece. Below are the two pieces of DSP used to decorate (although different from the one used above.) They are 4 x 1 3/4" and 1 1/4" x 1 3/4" respectively.
Below is a picture of the ones I use on my tables and for classes. These were made with our thick Whisper White - which seems to stand up a little better.
See you soon! ~Maureen
If you'd like to order Stampin' Up! products at my website - www.stampingwithmaureen.stampinup.net - just click on SHOP and please use the current Hostess code below -
Pages
- Home
- SHOP NOW!!
- What's Technique Club all about?????
- Join My TEAM - Become a Crazy Stamping Lady - earn Downline Loot!
- My Stampin' Up! story- Maureen Rauchfuss
- Stamp Events Full Cancellation/Refund Policy!
- SHARE IT SUNDAY - FREE TUTORIAL SHEETS!!
- Upcoming Stamping Events
- Types of Events I offer - Class Comparison
Showing posts with label diagram. Show all posts
Saturday, June 23, 2018
Tuesday, December 6, 2016
Nothing like a cookie to start a Fiesta!
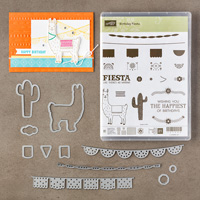
Here's one of the cute little treats my TEAM got from me at OnStage earlier this month. I wanted to share a bit more about these guys - because I think they are just STINKIN' Cute! It was pretty much my first time using our Birthday Fiesta Bundle.
These little pockets are so easy to make - they are all over Pinterest. See diagrams below. 1) Start with a 6"x6" piece of paper and fold diagonally, 2) Turn so that it sits in front of you like a triangle with the point at the top, 3) Fold the bottom right corner up to the center of the left side, 4) Fold the bottom left corner up to the center of the right side, 5) Fold down from the top of the triangle the front sheet only forming a little cup. It will hold it's shape without any adhesives and you can fill as you like.
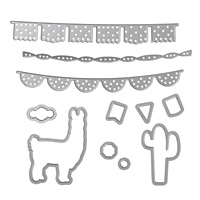
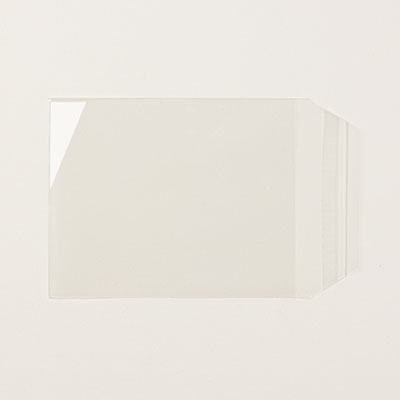
I slipped a chocolate chip cookie into each treat cup, and slipped the entire thing into one of SU's clear envelopes, folding the back down and taping. Then I decorated the front with the verse flag, and the cute little llama.
What a fun way to give someone a little treat! These would be adorable as party favors, or place settings - fill with candy, cookies, gift tags - or whatever your heart fancies.
Don't forget the Year-End closeouts sale going on right now - click on banner below to go to my online store -
See you soon! ~Maureen
Click on any image below to go directly to my online store -
These little pockets are so easy to make - they are all over Pinterest. See diagrams below. 1) Start with a 6"x6" piece of paper and fold diagonally, 2) Turn so that it sits in front of you like a triangle with the point at the top, 3) Fold the bottom right corner up to the center of the left side, 4) Fold the bottom left corner up to the center of the right side, 5) Fold down from the top of the triangle the front sheet only forming a little cup. It will hold it's shape without any adhesives and you can fill as you like.
I slipped a chocolate chip cookie into each treat cup, and slipped the entire thing into one of SU's clear envelopes, folding the back down and taping. Then I decorated the front with the verse flag, and the cute little llama.
What a fun way to give someone a little treat! These would be adorable as party favors, or place settings - fill with candy, cookies, gift tags - or whatever your heart fancies.
Don't forget the Year-End closeouts sale going on right now - click on banner below to go to my online store -
See you soon! ~Maureen
Click on any image below to go directly to my online store -
Thursday, October 27, 2016
Thanksgiving 3-Nugget Container
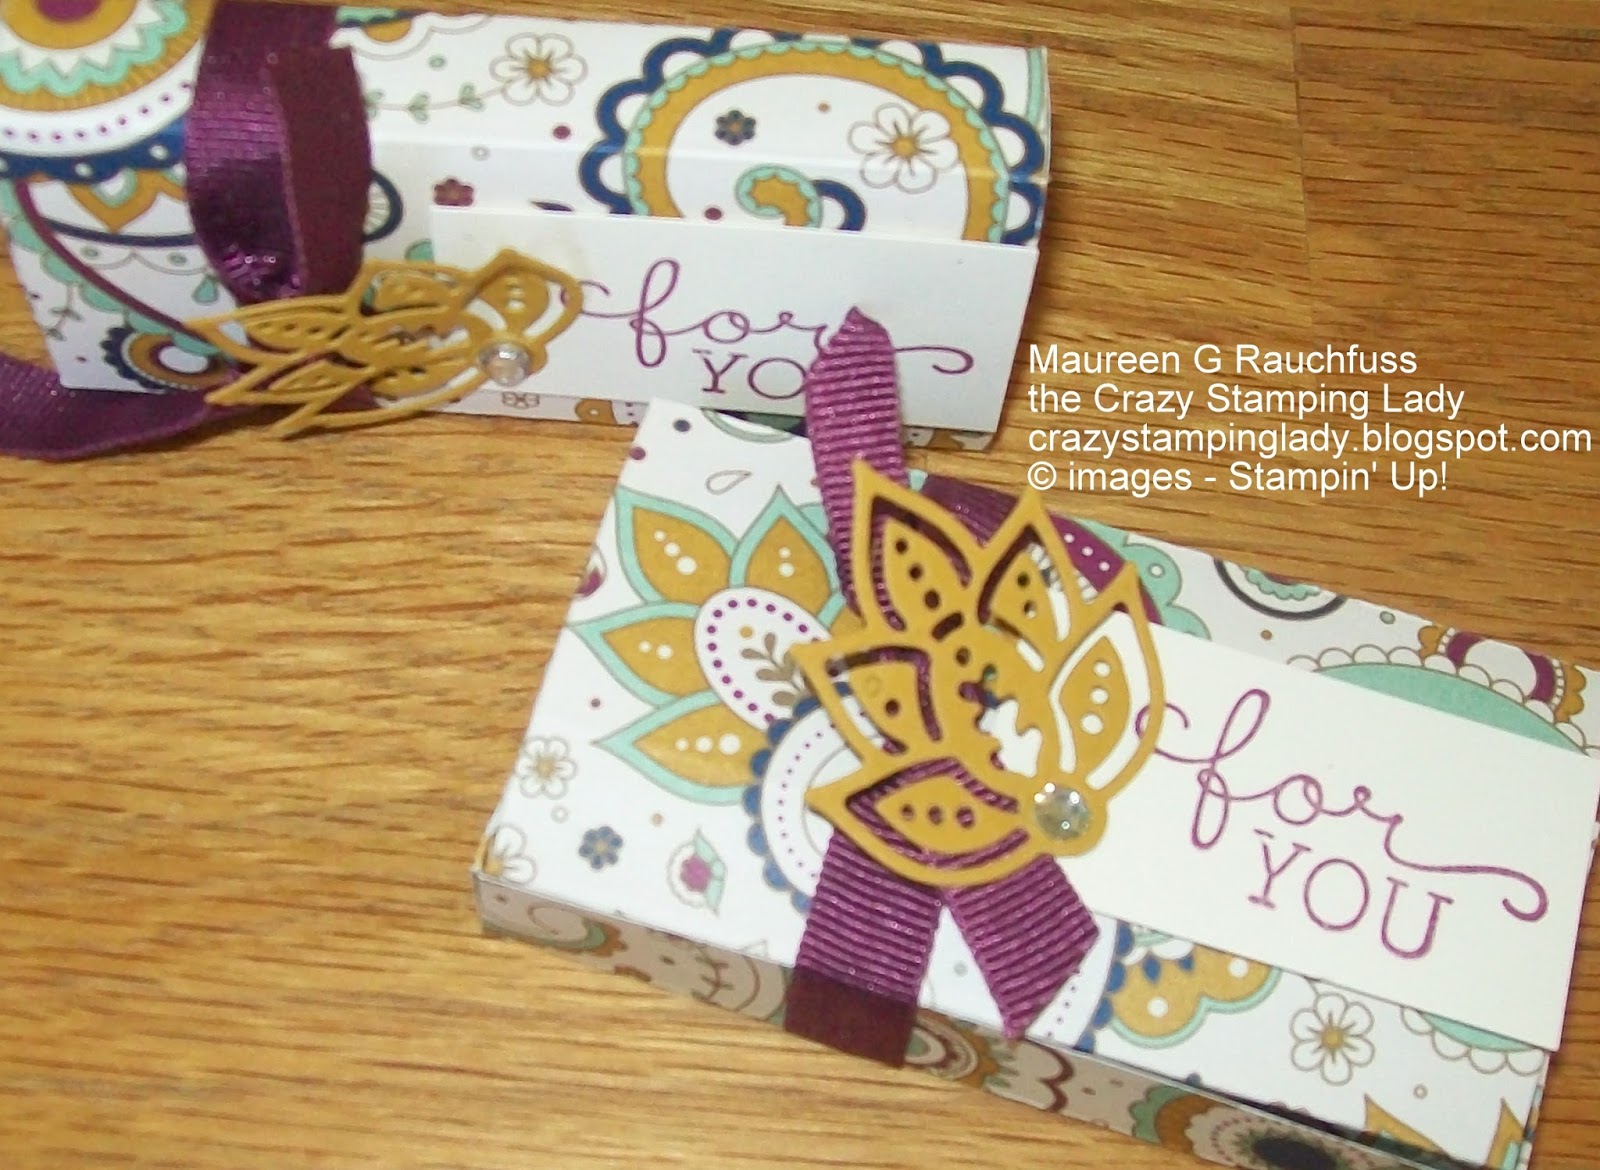
So today I'm sharing the final project we made at Club this month - it's a cute little nugget holder - that I thought would be perfect to put at each place setting for Thanksgiving. You could substitute the guest's name for the "for YOU" sentiment.
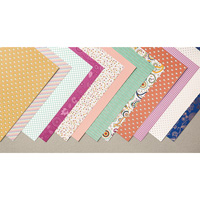
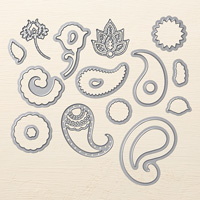
We used the Paisley and Posies Designer Series Paper as well as the Framelits to cut out the flourish for on top.
Here is a photo of the design to make this. The Solid lines are scored, the lined sections are cut out, and the top little flap was corner rounded for a more finished look. The size of DSP you need is 5" x 5.25". The Vertical score lines are at (from left to right) 1/2", 1", 4" and 4 1/2". The horizontal score lines are at (from bottom to top) 1/2", 2 3/8", 2 7/8" and 4 3/4". I scored everything first, then cut out the sections indicated, corner rounded my top flap and folded together and secured it.
Here you can see the little box open - and the decorated nuggets inside.
Such a cute little treat for your guests at Thanksgiving - or any day.
Off to do more creating :) ~Maureen
Click on any image below to go directly to my online store -
We used the Paisley and Posies Designer Series Paper as well as the Framelits to cut out the flourish for on top.
Here is a photo of the design to make this. The Solid lines are scored, the lined sections are cut out, and the top little flap was corner rounded for a more finished look. The size of DSP you need is 5" x 5.25". The Vertical score lines are at (from left to right) 1/2", 1", 4" and 4 1/2". The horizontal score lines are at (from bottom to top) 1/2", 2 3/8", 2 7/8" and 4 3/4". I scored everything first, then cut out the sections indicated, corner rounded my top flap and folded together and secured it.
Here you can see the little box open - and the decorated nuggets inside.
Such a cute little treat for your guests at Thanksgiving - or any day.
Off to do more creating :) ~Maureen
Click on any image below to go directly to my online store -
Wednesday, July 15, 2015
Downline Meeting Card tote!
So last weekend was our quarterly downline meeting in Southern California - and believe me when I say I was not ready. I had not even really unpacked my craft stuff yet, so we did what we could with what I had. Thank you to all who came, Lois for opening her home, Devin for being a terrific helper and Heidi for stepping in with an additional project. It was fun - and I was able to find supplies to do these adorable little card totes with the group. We used the new Bohemian DSP (the only full pack of my DSP I could find) and they turned out so cute.
They are perfect for holding set of cards made with SU's notecards and envelopes - four of each fit perfectly, and even though we only did two cards - when I offer this as a class we'll be doing four. The tote is actually a version of the "bag in a box" or "box in a bag" papercraft - just added some trim, handles and a bow to make it look like a purse - these are all the rage right now - so I jumped on that bandwagon.
So here are my tips and measurements for this project. The actual base that forms the very bottom is 3.5"x6.5" of cardstock in any coordinating color (it's the same you'll use for the trim - on this one I used Delightful Dijon. We scored that rectangle on all four sides at the 1" mark, folded the creases, and then cut in on both ends from the end to the vertical crease along horizontal crease list (see picture below), then these tabs were folded over the end and taped with 2 sided tape - forming a little box as the base of the tote. Please note the other notes on the paper for measurements. This is how I use my old grid papers after classes - for project notes and diagrams.
After you have the base together - take your DSP pieces, and making sure the patterns go in the right direction secure them along the bottom to the base using tape - I had mine right at the bottom of the base, but if a little of the base showed it would still coordinate; and secure up the sides of the DSP where they meet and overlap. I added the trip with tape - secured the handles with brads and added the cute little bow using our bow builder punch and glue dots. Was a very fun project to do. A couple of the ladies decided to forgo the handles and made their just into a little basket. Either way - they looked great! Stop back soon to see the cards we made and more of what we created at our downline meeting. ~Maureen
Here's what we used to create our project -
They are perfect for holding set of cards made with SU's notecards and envelopes - four of each fit perfectly, and even though we only did two cards - when I offer this as a class we'll be doing four. The tote is actually a version of the "bag in a box" or "box in a bag" papercraft - just added some trim, handles and a bow to make it look like a purse - these are all the rage right now - so I jumped on that bandwagon.
So here are my tips and measurements for this project. The actual base that forms the very bottom is 3.5"x6.5" of cardstock in any coordinating color (it's the same you'll use for the trim - on this one I used Delightful Dijon. We scored that rectangle on all four sides at the 1" mark, folded the creases, and then cut in on both ends from the end to the vertical crease along horizontal crease list (see picture below), then these tabs were folded over the end and taped with 2 sided tape - forming a little box as the base of the tote. Please note the other notes on the paper for measurements. This is how I use my old grid papers after classes - for project notes and diagrams.
After you have the base together - take your DSP pieces, and making sure the patterns go in the right direction secure them along the bottom to the base using tape - I had mine right at the bottom of the base, but if a little of the base showed it would still coordinate; and secure up the sides of the DSP where they meet and overlap. I added the trip with tape - secured the handles with brads and added the cute little bow using our bow builder punch and glue dots. Was a very fun project to do. A couple of the ladies decided to forgo the handles and made their just into a little basket. Either way - they looked great! Stop back soon to see the cards we made and more of what we created at our downline meeting. ~Maureen
Here's what we used to create our project -
Thursday, September 25, 2014
Jack O Lantern Surprise
So here's the cute little 3D item we made at club - it's a little treat matchbox.
Here is the diagram for the matchbox base - Here's the base all put together and taped.
The outside is just a piece of orange cardstock scored, wrapped around and taped.
And then the base will slide in and out.
So you can add a little treat - but the trick is that we added a little pumpkin on a piece of our SU window sheet, so that when you slide the box open......
Voila - he pops up to surprise you - how fun is that!
I will add a note though - when I originally made these - we attached the window sheet with glue dots. But later even though the glue dots held onto the pumpkin - they popped off the base as it popped up - so I ended up stapling it with our new SU craft stapler - then it worked like a charm. Pretty cute huh?!? See you soon ~Maureen
Products used to complete project
Subscribe to:
Posts (Atom)