Showing posts with label treat holders. Show all posts

Saturday, December 11, 2021

November Paper Pumpkin - Alternative Project #4

 
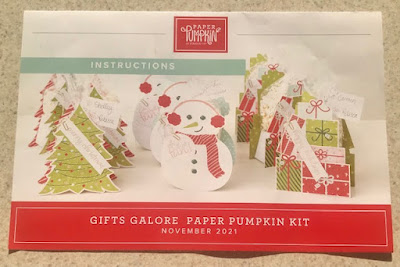
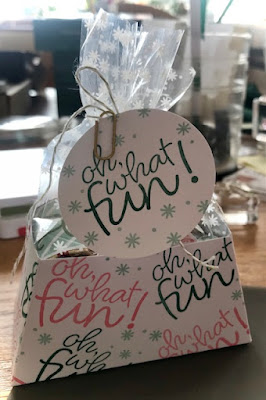
So my Paper Pumpkin class for the November kit is over and I can continue to share what we did as our alternatives - here is the fourth and final project we did for this kit - a cute little treat holder.
Tips
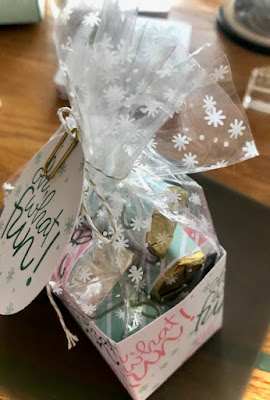
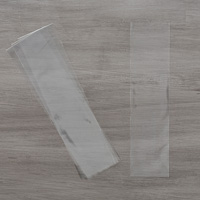
We started by stamping all over the little treat box portion while flat - "Oh, what fun!" with Shaded Spruce and Flirty Flamingo; and snowflakes with Pool Party.  Then adhered it together with Tear and Tape and placed it into one of the treat bags.  I cut about 1 1/4" off the top of the bag to make it easier for me to reach in and place the treats.    Next I took 1/3 of the white tissue that was in the kit and crumpled it up and put in the bottom of the little treat box - so my candies stood higher.  HINT: save everything from your kit that is practical - I always keep the tissue and use it in various ways.
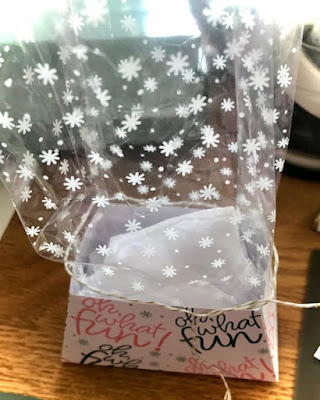
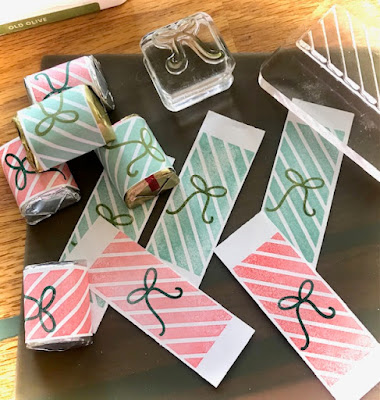
Then we stamped the striped gift image onto strips of 1" x 3" pieces of copy paper using Pool Party and Flirty Flamingo inks; and added bows with Old Olive and Shaded Spruce inks.  Then putting a glue dot on the back side on each end of the strip, wrapped them around Hershey's nuggets to fill the bag.
Finally we stamped the "Oh, what fun!" onto one of the round tags.  Tied the bag shut with a piece of the green twine; and hung the tag on with one of the little clips.
Voila - all done.  Would make an adorable little place setting treat - or add a gift card for a nice little gift! 
~*~*~*~*~

To order any of Stampin' Up's products you can go directly to my online store -www.stampingwithmaureen.stampinup.net and click on SHOP NOW.  Please use the Hostess Code below to get full benefits from me -
TC6V9JKH

*NOTE: If your personal order is not part of a current party and you are ordering over $150 in merchandise - please do not use this code; as your order without the code will qualify you to earn a minimum of 10% in hostess benefits.   

 ~*~*~*~*~

If you don't currently have a demonstrator, and would like a catalog or to learn more about Stampin' Up! and our products, please email me at crazystampinglady@gmail.com
Stop back soon for some more creative fun and inspiration.     ~Maureen

Thursday, March 8, 2018

Thanks a Latte....

You all know me and Coffee!!! Or if you don't you haven't been checking my blog often enough.  I am addicted!!!  I love anything and everything coffee related - but most of all I just LOVE drinking it.  So I saw this adorable tutorial on Sarah-Jane Rae's cardsandacuppa blog, on how to make a little treat bag using our Coffee Cafe set and framelits - and I had to try it.  Here is a link to the post - COFFEE TREAT BAG  Her instructions are great, but measurements were metric - so I'll give you my measurements for my treat holder, later in this post.
So here is the finished treat holder - front and back.
And inside I wrapped Hershey nuggets - put them in a cello bag and tied with a coordinating ribbon.
We made these at a recent club meeting -
and then I made a bunch more for treat at an upcoming BUNCO event I'm doing.
I did the large cup - so here are my measurements and tips - 
Large Cup: 
Cut 2 cups from 2 1/4"x3" piece of Espresso cardstock
Cut 2 lids from 1 x 2 3/8" piece of White cardstock
Cut 2 sleeves from 11/2x2" piece of DSP of your choice
Stamp and cut 1 oval with verse from a 1 x 1 1/4" piece of white cardstock (for front of treat holder)
My measurements to make the bottom and sides of cup - a piece of Espresso cardstock 5 1/2" by 3".  Score long side at 2 1/4" and at 3 1/4".  Score short side at 1/4" and at 2 3/4".
Then follow her video to complete.  She left  her bottoms on the cups rounded, but I wanted mine to sit flat, so I trimmed the extra rounded part off the bottom on each side -and it worked great.  Hope you enjoyed!  ~Maureen
You can go to my online store here  or click on any image below to go right to that product in the store.

Wednesday, October 25, 2017

Halloween Test Tube TREATS!

Hi All - can you believe it - Halloween is almost here!!!  Today I am going to share some adorable Test Tube treat holders based on the tutorial from the talented Erica Cerwin.  She shared this on her facebook page - and I had to try it out.  So below you see the finished products ready to hand out to my eight amazing grandkiddos!
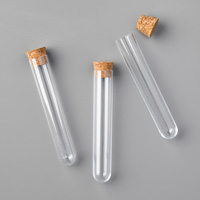
Below is a "blurry" close up of the actual test tube filled with dark chocolate candy dots from out local Sprouts store.  These dots are about the same size as MandM's - so I'm sure those would work also, or any other tiny candy or item (maybe a rolled up $10 bill).  These test tubes are currently available through my SU! store and there is a link at the bottom of this post.
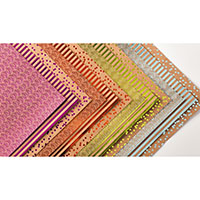
So here is the actual pattern for the holder.  The top layer is 6"x2" - scored as in the picture below at 1", 1 1/2", 4 1/2" and 5".  Then two circles are punched as shown in the diagram using the 3/4" punch.  For my holders I used the Foil Frenzy DSP because it is a bit heavier cardstock so holds up better for this project - plus it comes in a bunch of sparkling colors - several of which are perfect for Halloween.
You will need to fold as shown - each end fold, folds up to the front, and then each second fold, folds back away to give you the image below.  You'll also need a 4 3/4" x 2" piece of coordinating cardstock for the backing.  Place a piece of our tear tape on each end - and then attach the two pieces of cardstock together matching the ends.
Below I show before punching and attaching and behind it the one punched, attached, and the test tube fed through.
You could actually make these without the backing, as shown below - but the backing piece gives it a lot more stability.
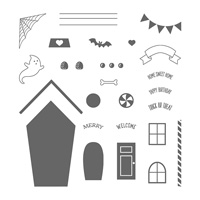
Finally - after you have filled your test tube, and put your project together - finish it off in any way you desire.  Note that I used dimensionals to attach my design to the front, as the holder is curved, and dimensionals held better than snail adhesive.  For my design, I used several of our punches, as well as the bat, ghost and "Trick or Treat" from our Sweet Home stamp set.  
Ghosts for the boys -
Bats for the girls -
Hope you enjoyed this post and tutorial.  Don't be limited by Halloween though - these would make adorable place settings at Thanksgiving filled with sunflower seeds, and decorated with a sunflower on top - or how about Christmas stocking stuffers filled with cocoa mix.  The possibilities are endless.  Be sure to get the test tubes now though while still available.  Would love to hear what you think - so be sure to leave me a comment.  See you all soon - Maureen
Click on any image below to go directly to my online store -