
Welcome to our Paper Crafting Blog Hop for December 2021 featuring talented Independent Stampin’ Up! Demonstrators. Fellow demonstrators from all over the globe including the USA, United Kingdom and Australia are participating. We have a wide array of fun projects and design styles to share with you this month - all spotlighting projects that represent - Gift Packaging ideas!
~*~*~*~
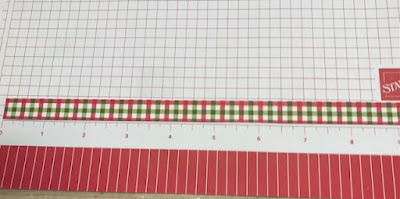
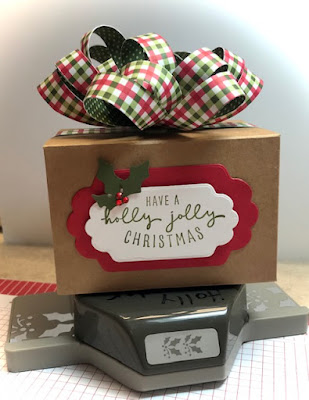
So today's project is a Holiday Gift Packaging idea - that could easily be adapted for any time of the year just by changing out the Paper you use. Start with strips of your favorite DSP -
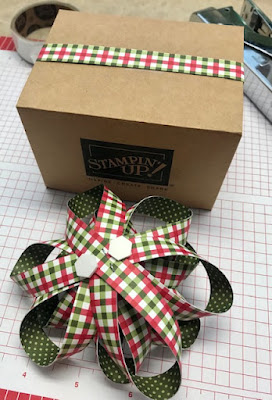
The next thing you will do is fold each piece (except the 4" piece) in half to find the center point. Then loop each end to the center and staple it.
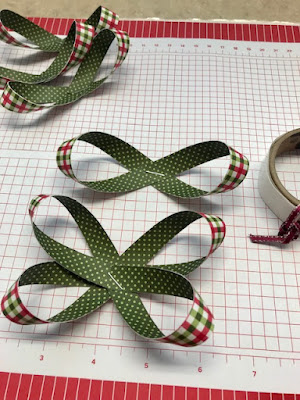
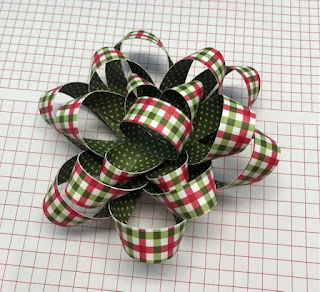
The above image shows one looped and then two attached together with glue dots. Be sure your ends are rounded as shown above, and each piece folded to the center overlaps a bit before stapling. You are going to attach the 3 largest together, then the 3 next largest, then the 2 next largest - criss-crossing them as shown. The 4" piece is stapled together in a circle and attached to the center to finish off the bow. I used only glue dots to attach each layer and it's staying together nicely!

Next you'll want to fold up your box, and I sealed with a piece of tape to hold on top (the bottom can still be opened).
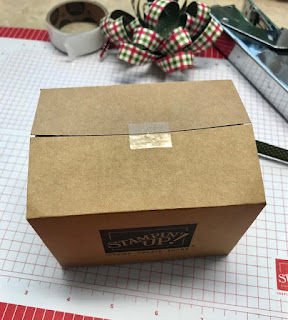
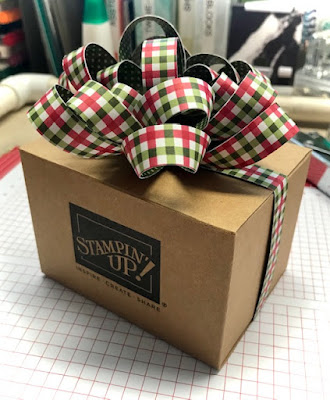
I then decided to use a 1/2" x 12" strip of the DSP to cover the tape and seam. This does not quite meet on the bottom of the box - so you can piece in a piece of the strips you cut up earlier. Add a couple dimensionals to the bottom of your bow -
~*~*~*~*~
Now click on through to the rest of those hopping with me this month to see all of their wonderful creations and inspirations! ~Maureen
Maureen Rauchfuss - YOU ARE HERE!
~*~*~*~*~
To order any of Stampin' Up's products you can go directly to my online store - www.stampingwithmaureen.stampinup.net and click on SHOP NOW. Please use the Hostess Code TC6V9JKH to get full benefits from me -

~*~*~*~*~
*NOTE: If your personal order is not part of a current party and you are ordering over $150 in merchandise - please do not use this code; as your order without the code will qualify you to earn a minimum of 10% in hostess benefits.
~*~*~*~*~
If you don't currently have a demonstrator, and would like a catalog or to learn more about Stampin' Up! and our products, please email me at crazystampinglady@gmail.com
4 comments:
I love that your box can be used for so many occasions - and I really love the holly leaf detail on your little greeting!! So gorgeous - thank you for the step by step for the luxurious bow!! Brilliant!
That bow is beautiful. I can see myself using it for all sorts of different occasions
Love your festive bow! Great idea to use it with the mini boxes. Thanks for sharing!
What a fun gift box, love the bow.
Post a Comment