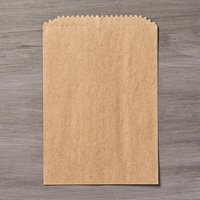
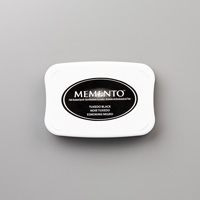
At Club we made this FUN little Halloween treat bag. SU! sells these little treat bags flat in the catalog but with a few quick scores and maneuvering, you can come up with this adorable little treat bag/box :), that will sit flat on your table. We did the stenciling using the dots from the masks in the Holiday catalog, and using the stamping sponges to add Memento Black ink.
The bag was scored 1" in from each end - using the lower zig-zag edge as your starting point (guess it's about 1 1/4" from very end on the left.
Then just reach in and flatten bag at score line, fold the corner pieces (triangle shaped) in and adhere to the bottom of the bag to form a rectangular base for your creation.
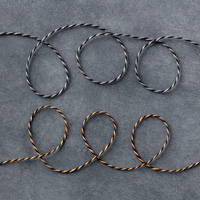
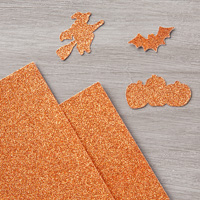
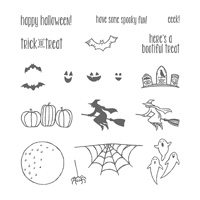
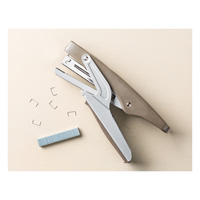
After that we added a vertical Belly Band, couple little flagged pieces. We stamped the top flag with a sentiment and that cute little spider - and the orange glitter gave it the needed "bling"! Fill your bag with treats (or money as was suggested by a Club Member - lol) and staple all together at the top with some twine for a bow.
How's that for ease and fun - for a Happy Halloween!! ~Maureen
Click on any image below to take you directly to my online store!
Yesterday I had my Halloween wreath class and it went great! Here is the picture of the project we completed - it measures 18" diameter. The project was made by adhering 12"x1" strips of DSP, glitter and black cardstock (11"x1") folded and overlapping, around a 6" wooden embroidery hoop. You can use either piece of the hoop to do this, so you can actually make two with one hoop.
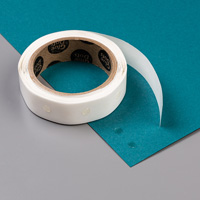
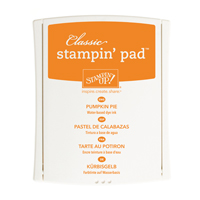
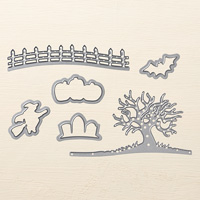
Once all the strips are adhered with SU's tear tape, we flagged the end of each of the pieces. The next step was to build the scene. We took a 6 1/2" circle of Pumpkin Pie - added a 2" circle of Daffodil for the moon, then sponged some black ink on to make spooky clouds. We then added the TREE edgelit and FENCE edgelit from Halloween Scenes Edgelit dies. The tree was adhered to the orange circle - then that was glued to the back of the wreath. Next - using two glue dots we put the fence on the front of the wreath curving it just a bit to give dimension. (see picture below)
After that we added our four bats (one up on the ring of the wreath) to our moon with glue dots. You can see we folded the wings up and back again so they would pop up a little.
Here's a view from the bottom so you can see how the fence pops up. Final step was to add the BOO of orange glitter letters and a hanger to the back. Fun project - and it looks great on my wall! See you soon. ~Maureen
Click on any product image below to go directly to my online store - Be sure to use this month's Hostess code -