So - I wanted to use the stencils I've been showcasing with my Technique Club in a fun way - and when I looked the Paisley mask it reminded me of fall winds swirling around and kicking up leaves - as well as a bit like ghosts. So I decided to go out of the box a little and make it into a Halloween sky! By stenciling the top with black and the bottom with orange and even letting them blend a bit - it looks like just before sunset.
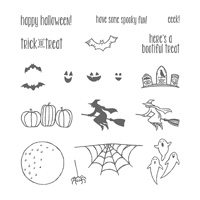
We added the spooky elements to complete the scene - some cute little jack-o-lanterns to lighten it up a bit, and stamped the inside of the card with some bats and a fun sentiment.
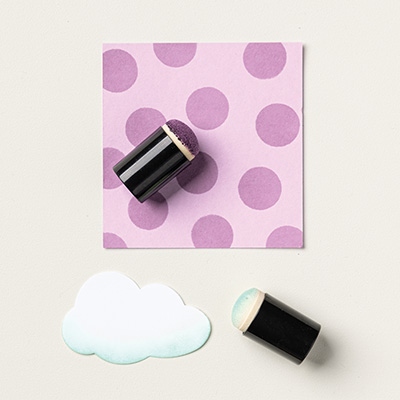
Here you can see a couple cards along with the stencil beneath. We used a stamping sponge for the black, and a dauber for the orange to try out both tools and see what each person might like better.
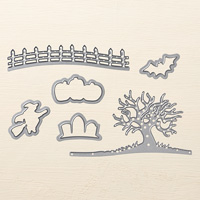
Finally I want to show you some of the dimension we got on this card - the bat is attached only by a glue dot in the center, and his wings are folded to give that in flight look. By only putting glue dots on each side of the base of the tree - we were able to allow the branches to stick up a bit. And then, lastly we added the fence with glue dots on each end and a dimensional in the middle.
All of this adds to the depth of the card. Think it turned out pretty cute - and it was a fun way to use the Stampin' Up! masks. See you soon! ~Maureen
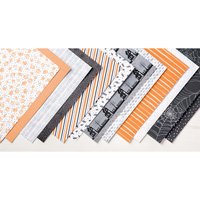
Click on any image below to go directly to my online store!
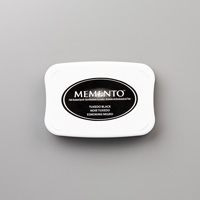
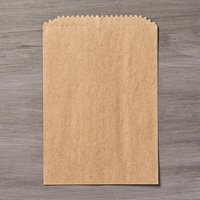
At Club we made this FUN little Halloween treat bag. SU! sells these little treat bags flat in the catalog but with a few quick scores and maneuvering, you can come up with this adorable little treat bag/box :), that will sit flat on your table. We did the stenciling using the dots from the masks in the Holiday catalog, and using the stamping sponges to add Memento Black ink.
The bag was scored 1" in from each end - using the lower zig-zag edge as your starting point (guess it's about 1 1/4" from very end on the left.
Then just reach in and flatten bag at score line, fold the corner pieces (triangle shaped) in and adhere to the bottom of the bag to form a rectangular base for your creation.
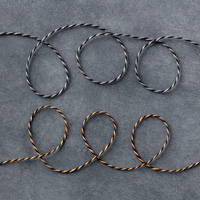
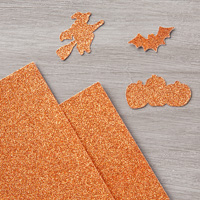
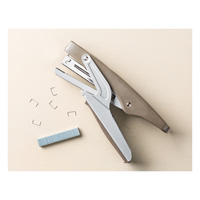
After that we added a vertical Belly Band, couple little flagged pieces. We stamped the top flag with a sentiment and that cute little spider - and the orange glitter gave it the needed "bling"! Fill your bag with treats (or money as was suggested by a Club Member - lol) and staple all together at the top with some twine for a bow.
How's that for ease and fun - for a Happy Halloween!! ~Maureen
Click on any image below to take you directly to my online store!
So, for our September Club I had a customer interested in our Seasonal Decorative Masks (pg 43 of our Holiday Catalog). So I decided to do a class featuring our masks, but that would also show them how to use other stencils. Here is the technique instruction card we made for in their binders - excuse the date correction - that was only on mine and I printed it correctly on theirs :)
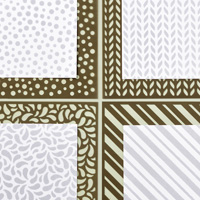
We stenciled the diagonal stripes in Real Red for our technique instruction card - to mimic the look of candy canes. Below are the four masks that you get in the kit for only $6.00, and they show an example of each of the stencils on cardstock.
One more picture from the catalog showing some more examples of the cardstock inked.
 Over the next few posts - I'll show you what else we made using these great masks and the stenciling technique. Be sure to stop back and see!!! ~Maureen