So today I'm sharing the second card we made at my Advanced Cards class August 2017. This is a tri-fold card featuring the SU Birthday Memories Suite on pages 68 and 69 of the annual catalog. This was such a very fun card to make! The fox and the banner were cut out of the Birthday Memories DSP with the matching framelits. All of the phrases are from the same set - which makes it wonderful to use!
Below is the diagram of how I get two tri-fold cards from one sheet of 8 1/2" x 11" cardstock. The perfect size to fit in our A2 envelopes. Excuse the bits of stamping here and there - this is one of the ways I re-use my used grid pad papers.
You can
see how the card is open here - the last panel featured one of the
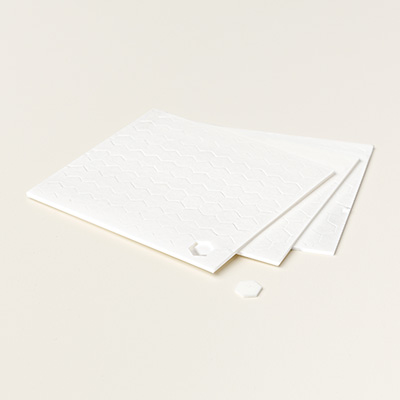
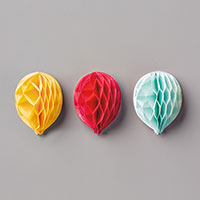
balloons popping with a Balloon Honeycomb Embellishment; and a square of
lighter yellow DSP so that you can have a spot to write to the
recipient.
Here is the back side of the card with the sentiment stamped so that when the card is folded you can still see it.
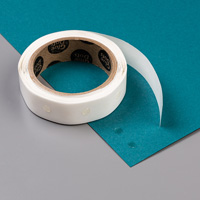
You can see below on the card on the right, that if you are going to mail this card you'll want to attach only one side of the balloon, and leave the honeycomb closed. We added a small piece of tear tape on it, so that the recipient can peel it off, open the balloon and stick it. I'll put a little note in the card with instructions. There is no way that open honeycomb balloon will make it through the mail un-crushed - lol!
What a fun and happy card! Hope you liked it too! See you soon. ~Maureen
Click on any image below to go directly to my online store!
So we made this card in my Advanced Cards Class August 2017. It fit the bill as there was a lot of layering, cutting and some coloring. I particularly love the colors - Berry Burst and Smoky Slate. It is a regular gate fold card just turned horizontal rather than vertical - but the peek-a-boo part comes from cutting the gates a little smaller to let a verse show through the opening.
You can see here how it opens.
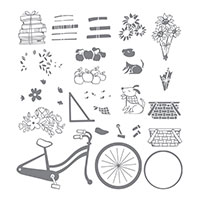
The bike parts were cut out, colored and assembled on the rectangular piece of white so that it over laps the two sides of the gate fold. Then we stamped a few clouds by stamping off Soft sky just to get a hint of cloud.
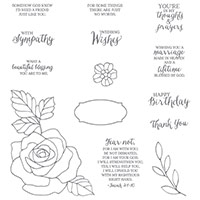
We then added the beautiful bow with SU's Berry Burst crinkled seam binding - the perfect finish for this card. The ladies had a few sentiments to choose from, from the Rose Wonder set, to complete their work of art.
Fun day, Fun card, Fun ladies - It's all about the FUN!! See you soon! ~Maureen
Click on any image below to go right to my online store -
So here's the second card we made at Advanced Cards last month. - it is a double Z card and a little less labor intensive than the last card. I used the Guy Greetings set - which I really love.
Above it is folded closed for mailing, but below you can see it standing up open.
Each lady was given a piece of Very Vanilla cardstock that they can write on and adhere to the third over brown panel. Otherwise - if they adhered it first - it would be impossible to write on.
They were also given a choice of "Happy Birthday" or "Happy Father's Day" to use as their sentiment. This is a fun, relatively easy card to make - that packs a punch!
The group really seemed to like it, and now I have some masculine cards on hand. Loving that! See you all soon. ~Maureen
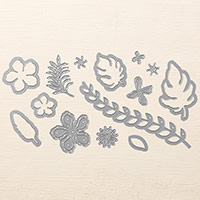
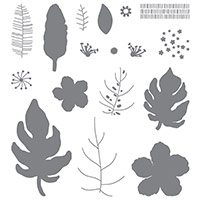
Sharing one of the two cards we made last month at my Coffee and Advanced Cards class. I focused on using one of my very favorite retiring sets and framelits - Botanical Blooms and Botanical Builder Framelit Dies. Really I am so sad that these are now gone - I have made so many beautiful cards - just can't seem to go wrong with these. So this first card is a gatefold card with a belly band. We used VersaMark ink on the background to leave that great watermark.
Then also continued it down the center under the sentiment. You can see here how the card opened. You just slide the belly band off and it opens in the center.
Here is a bit more of a side view. We layered the flowers and leaves so they were all attached only to the belly band and also slide right off with it. Added a few pearls or gems (their choice) for a finishing touch. The card was scored to fold and become a 5.5" x 4 1/8" - slightly narrower than our norm. This allows it to fit a regular envelope without being crunched.
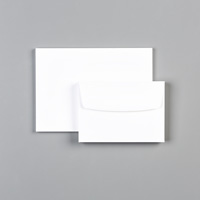
Finally - here is the finished card and envelope - crying just a few tears here as this set goes. But I'm not ready to part with the set or framelits just yet. So you may see a few more creations :)
See you all soon ~Maureen