Thanks a Latte....
You all know me and Coffee!!! Or if you don't you haven't been checking my blog often enough. I am addicted!!! I love anything and everything coffee related - but most of all I just LOVE drinking it. So I saw this adorable tutorial on Sarah-Jane Rae's cardsandacuppa blog, on how to make a little treat bag using our Coffee Cafe set and framelits - and I had to try it. Here is a link to the post - COFFEE TREAT BAG Her instructions are great, but measurements were metric - so I'll give you my measurements for my treat holder, later in this post.
So here is the finished treat holder - front and back.
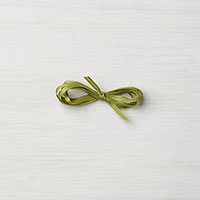
And inside I wrapped Hershey nuggets - put them in a cello bag and tied with a coordinating ribbon.
We made these at a recent club meeting -
and then I made a bunch more for treat at an upcoming BUNCO event I'm doing.
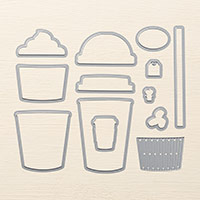
I did the large cup - so here are my measurements and tips -
Large Cup:
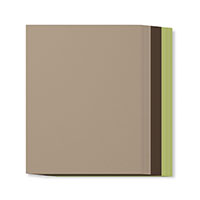
Cut 2 cups from 2 1/4"x3" piece of Espresso cardstock
Cut 2 lids from 1 x 2 3/8" piece of White cardstock
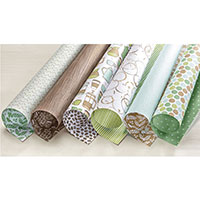
Cut 2 sleeves from 11/2x2" piece of DSP of your choice
Stamp and cut 1 oval with verse from a 1 x 1 1/4" piece of white cardstock (for front of treat holder)
My measurements to make the bottom and sides of cup - a piece of Espresso cardstock 5 1/2" by 3". Score long side at 2 1/4" and at 3 1/4". Score short side at 1/4" and at 2 3/4".
Then follow her video to complete. She left her bottoms on the cups rounded, but I wanted mine to sit flat, so I trimmed the extra rounded part off the bottom on each side -and it worked great. Hope you enjoyed! ~Maureen
You can go to my online store here or click on any image below to go right to that product in the store.


No comments:
Post a Comment