~*~*~*~*~
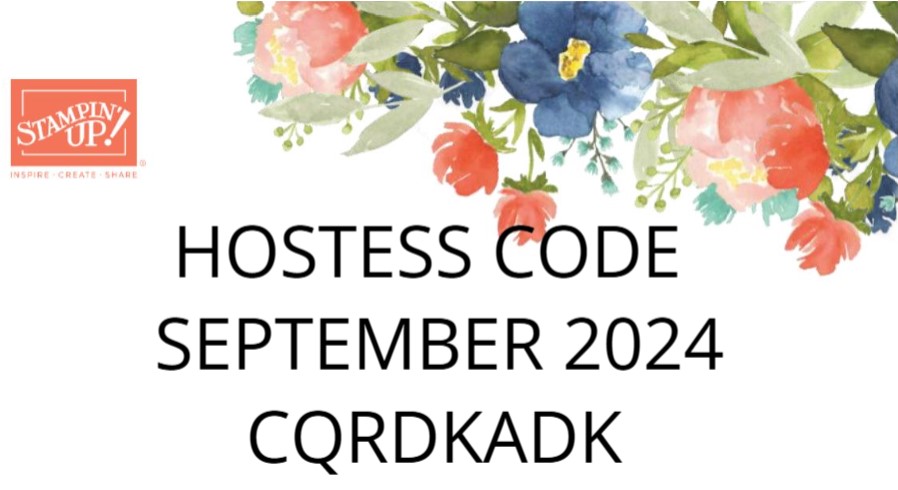
You can check in the SHOP NOW tab at the top of this page to find my current hostess code at any time.
Any costs shown are in the U.S. Market for September 2024 – Price will vary in other Stampin’ Up! markets.
~*~*~*~*~
You are invited to the Inlinkz link party!
Click here to enter~*~*~*~*~
You can check in the SHOP NOW tab at the top of this page to find my current hostess code at any time.
Any costs shown are in the U.S. Market for September 2024 – Price will vary in other Stampin’ Up! markets.
~*~*~*~*~
~*~*~*~*~
Click HERE to find and print your tutorial sheet.
Flowers of Beauty In Color Glimmer Card
All
images © 1990-2024 Stampin’ Up!®
Supplies:
· Stamp Set: Flowers of Beauty (163376)
·
Card Stock and Paper:
Basic White (159276), Petunia Pop (163801), Pretty in Pink (163793),
2024-2026 In Color Glimmer (163771)
·
Stamp Pads: Petunia Pop (163811), Pretty In Pink
(163807), Shy Shamrock (163808), Summer Splash (163809)
·
Tools: Bone Folder (102300); Paper Snips (103579), Paper
Trimmer (152392), Stampin’
Cut & Emboss Machine (149653)
·
Miscellaneous: 2024-2026 In Color Resin
Dots (163389), Silver & White ½” Sheer Ribbon (162149), Stampin’
Dimensionals (104430), Stampin’ Seal Adhesive (152813)
Measurements:
·
Pretty In Pink Cardstock: 5
½” x 8 ½”; score at 4 ¼” and fold to form card base.
·
Petunia Pop Cardstock: 3 ¾”
x 5”
·
Basic White Cardstock 3 ½” x 4 ¾”, 3” x 3” for die cut flower
& leaves, and 4” x 5 ¼” (for inside)
·
20204-2026 In Color Glimmer:
¾” x 3 ¾” – 1 each of all 5 In Colors
·
Silver & White Sheer Ribbon:
approximately 11”
Instructions:
1. Cut each piece listed in the
measurements above.
2. Fold Pretty In Pink
Cardstock in half to form card base.
3. Adhere Petunia Pop Cardstock
panel to the card front.
4. Adhere Basic White Cardstock
panel to the card front.
5. Adhere each piece of
2024-2026 In Color Glimmer paper to the card front.
6. Stamp sentiment onto the
card front below the Glimmer paper using Petunia Pop ink.
7. Stamp flower outline image
onto Basic White Cardstock using Petunia Pop ink. Stamp solid flower image overtop of the stamped
flower outline using Pretty In Pink ink.
8. Stamp leaves outline image
onto the same piece of Basic White Cardstock using Shy Shamrock ink. Stamp bold leaves image overtop of the leaves
outline using Summer Splash ink.
9. Die cut flower and leaves
using Flowers of Beauty Dies.
10. Place a bit of Stampin’ Seal
on the card front where you would like the ribbon to go. Weave Ribbon back and forth over the adhesive
and press into place.
11. Adhere die cut flower and
leaves to the card front over the ribbon with Stampin’ Dimensionals.
12. Embellish card front with 20204-2026
In Color Resin Dots.
13. Adhere Basic White cardstock
layer to the inside of the card.
~*~*~*~*~
Order the above bundle in the month of May 2024, and all of my profits from the sale will go to support Doors of Hope ministry in Murfreesboro, TN – see more about this incredible ministry here –
Doors of Hope | (opendoorsofhope.org)
Plus - you will receive a special full bundle tutorial of additional card ideas – that you can use to create wonderful projects. Tutorial bundle will be sent out as soon as possible – usually the Sunday after your purchase.
~*~*~*~*~
~*~*~*~*~
Click HERE to find and print your tutorial sheet.
Sending Love
All
images © 1990-2021 Stampin’ Up!®
Supplies:
· Stamp Sets: Sending Love (162873); or as a discounted bundle with Sending Love dies (162880)
·
Card Stock and Paper: Basic White CS (159276);
Coastal Cabana CS (131297); Real Red CS (102482); Crumb Cake CS (120953);
Granny Apple Green CS (146990)
·
Stamp Pads: Smoky Slate Ink (147113);
Real Red Ink (147084)
·
Tools: Sending
Love Dies (182879); Deckled Rectangles Dies (159173); Cloud Punch (157749)
·
Miscellaneous: Classic Matte Dots
(158146); Stampin’ Dimensionals (104430); Stampin’ Seal Adhesive (152813);
Multipurpose Liquid Glue (110755)
Measurements:
· Coastal Cabana CS: 8 ½” x 5 ½”, 4” x 2 ½”
·
Basic White CS: 5 ½” x 4”, scraps
·
Real Red CS: Scraps
·
Granny Apple Green CS: 4” x 1”, scraps
Instructions:
1. Fold Coastal Cabana card base in half.
2.
Die
cut Deckled Rectangle (2nd largest die).
3.
Punch
2 clouds from Basic White CS scrap, and adhere to white Deckled Rectangle
panel, using Dimensionals
4.
Trim
top left cloud so it matches Deckled Rectangle die.
5.
Die
cut 2 grass pieces out of Granny Apple Green CS.
6.
Die
cut bottom of grass strip using Deckled Rectangle, so the bottom and side edges
match the Basic White Deckled Rectangle.
7.
Adhere
smaller grass pieces to white panel.
8.
Die
cut mailbox post using Crumb Cake CS, and adhere to white panel, using
Dimensionals, as shown.
9.
Adhere
the Granny Apple Green grass strip to card white panel, using Dimensionals.
10. Fold mailbox piece on score line, and
adhere the bottom part closed, using Multipurpose Liquid Glue (make a SMALL
LINE of glue, using Multipurpose Liquid Glue, on bottom edge only).
11. Stamp “MAIL” on mailbox, using Smoky
Slate Ink.
12. Adhere mailbox to card front, on top of
wood piece, using Dimensionals.
13. Adhere red flag to mailbox, using a
trimmed Dimensional.
14. Adhere small gray Classic Matte Dot to
circle part on flag.
15. Stamp postmark sign, using Smoky Slate
Ink, (stamp off once to make it lighter in color) and Real Red Inks.
16. Adhere white panel to card front.
~*~*~*~*~
Order the above bundle in the month of April 2024, and all of my profits from the sale will go to support Doors of Hope ministry in Murfreesboro, TN – see more about this incredible ministry here –
Doors of Hope | (opendoorsofhope.org)
Plus - you will receive a special full bundle tutorial of additional card ideas – that you can use to create wonderful projects. Tutorial bundle will be sent out as soon as possible – usually the Sunday after your purchase.
~*~*~*~*~
~*~*~*~*~
Click HERE to find and print your tutorial sheet.
PAINTED LAVENDER
All
images © 1990-2024 Stampin’ Up!®
Supplies:
·
Stamp Sets: Painted Lavender (162594); Garden Meadow
(162741)
·
Paper: Thick Basic White C/S (159229);
Highland Heather C/S (146986); Basic White (159276);
·
Stamp Pads: Highland Heather (147103);
Gorgeous Grape (141099);
·
Miscellaneous: Brushed Brass Butterflies (158136):
Silver & White ½” Sheer Ribbon (162149); Dimensionals (104430); Multipurpose
Glue (110755);
Measurements:
· Thick Basic White : 8 ½” x 5 ½”
· Highland Heather : 4 x 5 ¼”
· Basic White 3 ¾”x 5”
Instructions:
1.
Fold
cardstock base in half on score line. And burnish.
2.
Ink
up the large Lavender image with the Highland Heather Ink.
3.
Starting
in the center and working outward. As shown in the image.
4.
To
finish off the Wisteria, stamp a couple of upside-down Lavender in Gorgeous
Grape.
5.
Adhere
the stamp image onto the Highland Heather using Multipurpose Glue. Wrap with
the Silver & White Sheer Ribbon and finish with a bow.
6.
Place
Dimensionals onto the back of the stamped piece. Then add to card base.
7.
Finish
the card by adding the Brushed Brass Butterfilies.
~*~*~*~*~
Order the above bundle in the month of April 2024, and all of my profits from the sale will go to support Doors of Hope ministry in Murfreesboro, TN – see more about this incredible ministry here –
Doors of Hope | (opendoorsofhope.org)
Plus - you will receive a special full bundle tutorial of additional card ideas – that you can use to create wonderful projects. Tutorial bundle will be sent out as soon as possible – usually the Sunday after your purchase.
~*~*~*~*~