Then you open from the center to the top and the bottom to get this view -
Next you open from the center to each side and get this -
and finally from the center top to bottom to get this - the white panels were left blank so that I could write her birthday wishes. After you open this layer from the center side to side you go right back to the first picture of the card and start over - thus the never-ending card name :)
One of my amazing customers, Janet, from one of my Technique Clubs came up with this adorable little poem insert to put in with the cards to help people know how to open them - she has given permission for anyone to use. Thanks Janet, for sharing your creativity with us all.
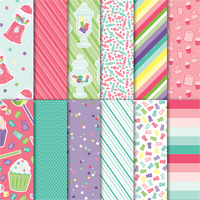
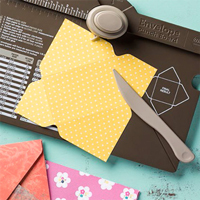
I also used Stampin' Up!'s envelope punch board to make her matching envelope out of the DSP. The card ends up being 6"x6" - so the punch board made it easy to create the envelope for that size card -
and here is the envelope open -I love how the 2 sided DSP creates it's own lining.
And finally with the card slid in.
I really love how it turned out and she seemed to love it too. Now I just have 7 more to go this year with 3 of them in March - so I'd better get busy. There are tons of great tutorials and videos out there on how to make these - just search Never Ending Card - and try it out. It's a fun and interactive card for all ages. Hope you liked it! ~Maureen
Remember it's currently Sale-a-bration where you can earn FREE merchandise with every $50 purchase. Just click HERE
for full details; and then click on SHOP NOW to see the catalogs. Or if you'd like a hard copy of our Annual catalog, Occasions catalog and Sale-a-bration catalogs mailed to you, just let
me know. If ordering online please use my current hostess code -
Thank you!
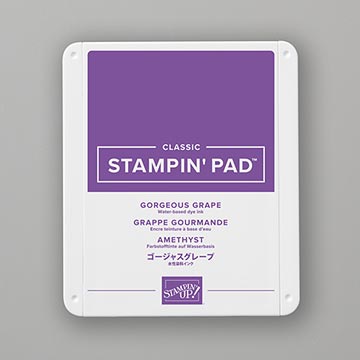
Click on any image below to go straight to my online store - 





1 comment:
Love it!Gotta make a few more myself... thank you for sharing👍
Post a Comment