They are perfect for holding set of cards made with SU's notecards and envelopes - four of each fit perfectly, and even though we only did two cards - when I offer this as a class we'll be doing four. The tote is actually a version of the "bag in a box" or "box in a bag" papercraft - just added some trim, handles and a bow to make it look like a purse - these are all the rage right now - so I jumped on that bandwagon.
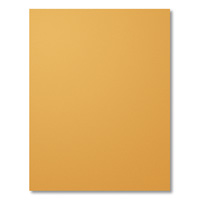
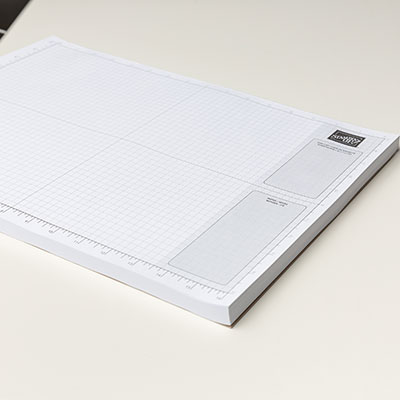
So here are my tips and measurements for this project. The actual base that forms the very bottom is 3.5"x6.5" of cardstock in any coordinating color (it's the same you'll use for the trim - on this one I used Delightful Dijon. We scored that rectangle on all four sides at the 1" mark, folded the creases, and then cut in on both ends from the end to the vertical crease along horizontal crease list (see picture below), then these tabs were folded over the end and taped with 2 sided tape - forming a little box as the base of the tote. Please note the other notes on the paper for measurements. This is how I use my old grid papers after classes - for project notes and diagrams.
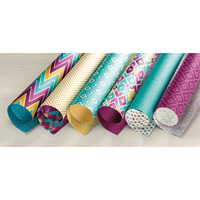
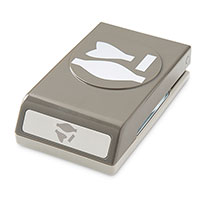
After you have the base together - take your DSP pieces, and making sure the patterns go in the right direction secure them along the bottom to the base using tape - I had mine right at the bottom of the base, but if a little of the base showed it would still coordinate; and secure up the sides of the DSP where they meet and overlap. I added the trip with tape - secured the handles with brads and added the cute little bow using our bow builder punch and glue dots. Was a very fun project to do. A couple of the ladies decided to forgo the handles and made their just into a little basket. Either way - they looked great! Stop back soon to see the cards we made and more of what we created at our downline meeting. ~Maureen
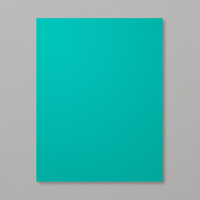
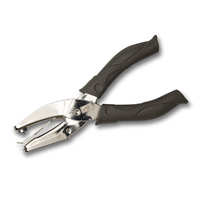
Here's what we used to create our project -





No comments:
Post a Comment